Introduction
UVdesk is well known SaaS-based helpdesk and now released fully functional Open Source Help Desk with all the standard features.
Check out UVdesk on Symfony Official Website – Symfony
Let’s take a look at a comprehensive guide for the Open Source Helpdesk Installation process on Ubuntu – UVdesk.
Open Source Helpdesk Installation Process on Ubuntu
Prerequisites to install Open Source Helpdesk on Ubuntu:
Hardware Requirement
- Processor: 1.60GHz or higher
- RAM: 3GB or higher
Software Requirement
Video Tutorial
![UVdesk Open Source Helpdesk Installation with Extensions - UVdesk on Linux [Ubuntu]](https://i.ytimg.com/vi/nMnmmzF72oM/hqdefault.jpg)
Steps to Install Open Source Helpdesk Ticketing System on Ubuntu:
Step 1 –
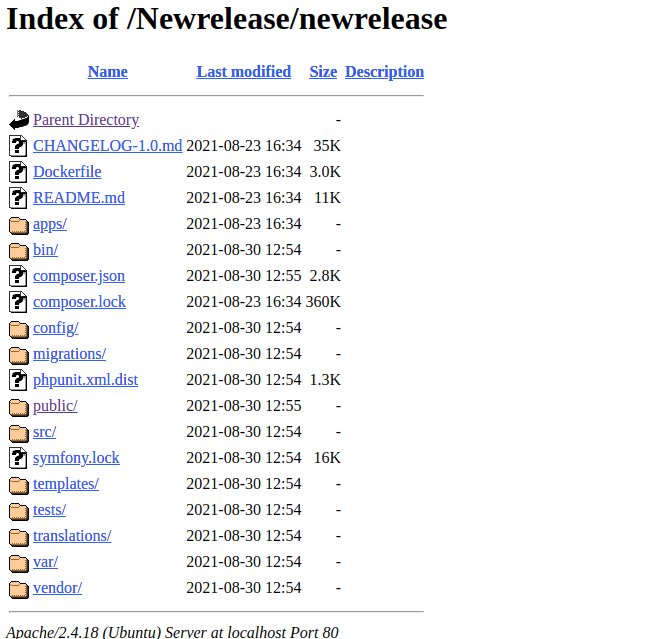
Install the community-skeleton project via composer using the below-structured command:
Clear Cache:
|
1 |
composer clear-cache |
Create Project:
|
1 |
composer create-project uvdesk/community-skeleton helpdesk-project |
OR
Download ZIP as per your System’s PHP version.
Check Following Cases:
Before setting up your project check below things and make changes accordingly:
Case 1. A web server might don’t have permission to allow overriding of the Apache config on a per-directory basis. In apache2.conf, Allow Override needs to be set to All for the directory block as mention below:
<Directory /home/users/www>
Options Indexes FollowSymLink
AllowOverride All
Require all grantedNote: Need to run below commands for enabling mod rewrite rule:
Then, restart web server:
Case 2. If your database password contains some special character(such as #$%@) then change your password and make it without special character.
Case 3. Allow read-write permission for below file & folder:
For .env file – chmod 775 -R path of .env file of UVdesk project
For var folder -chmod 775 -R path of var folder of UVdesk project
For config folder – chmod 775 -R path of config folder of UVdesk project
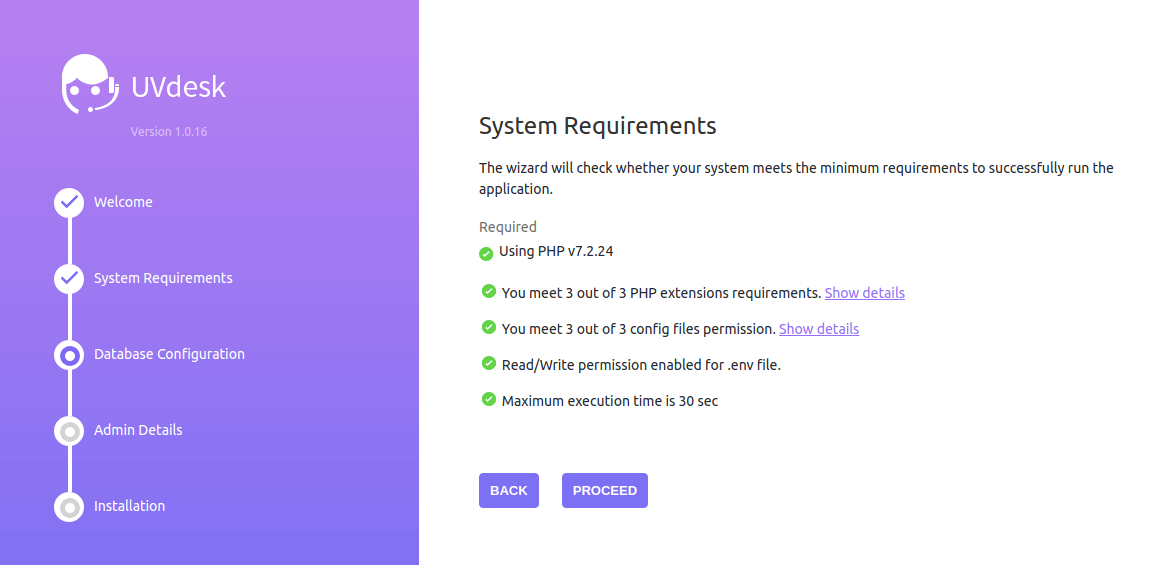
Case 4. And also check max execution time if it is 30 sec then increase it. Check here.
Case 5. locate .env file in your project and make sure APP_ENV=dev when you are doing your setup.
After that, restart your server by.
|
1 |
service apache2 restart |
Lastly, clear your project cache by:
php bin/console c:c
Step 2 –
Browse your installed helpdesk project for example – http://domain/installed_folder/

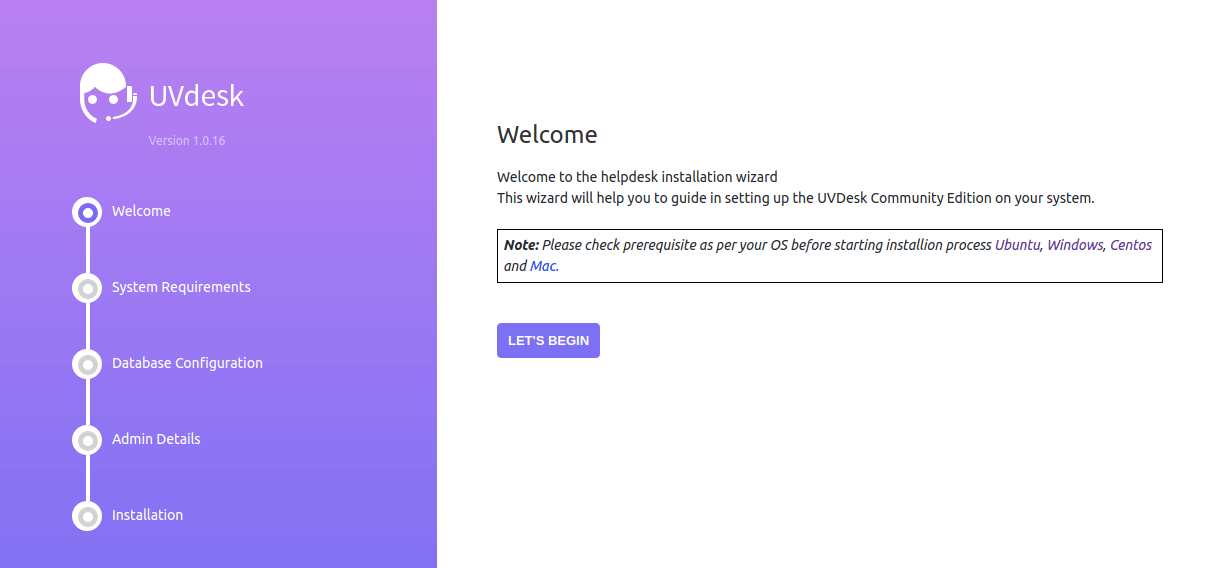
Step 3 – Set Up Helpdesk
Now browse: http://domain/installed_folder/public/

Step 4 – Evaluating System Requirement

Note: To enable the IMAP/mail parser you can have a look here: https://webkul.com/blog/how-to-add-an-extension-imap-and-mailparse-on-windows-linux-mac/
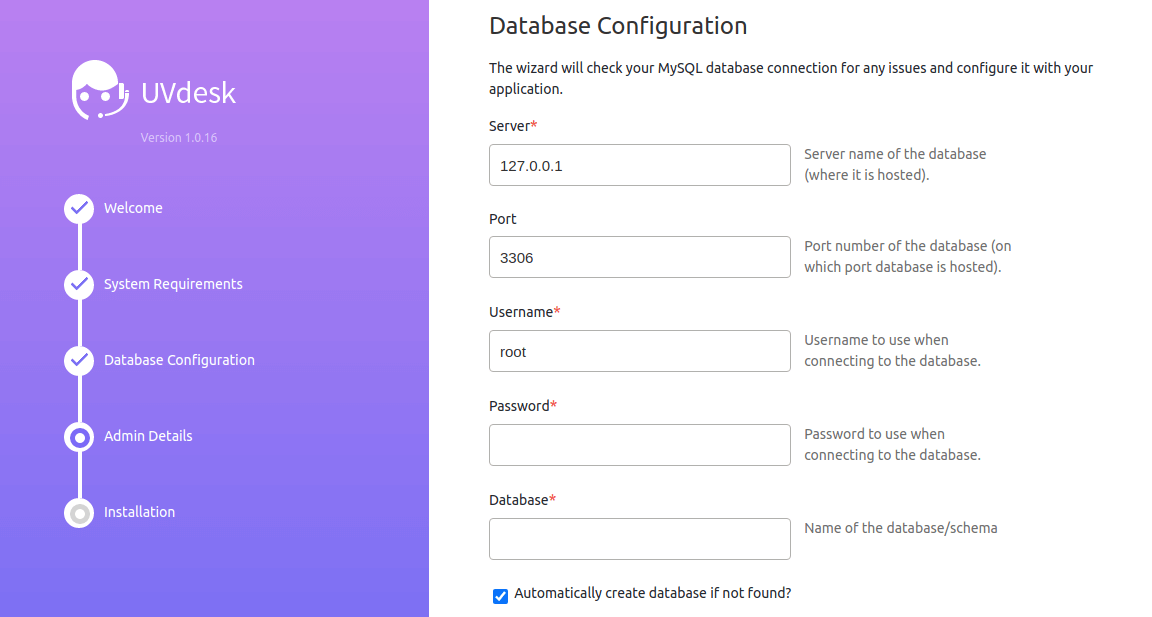
Step 5 – Database Configuration

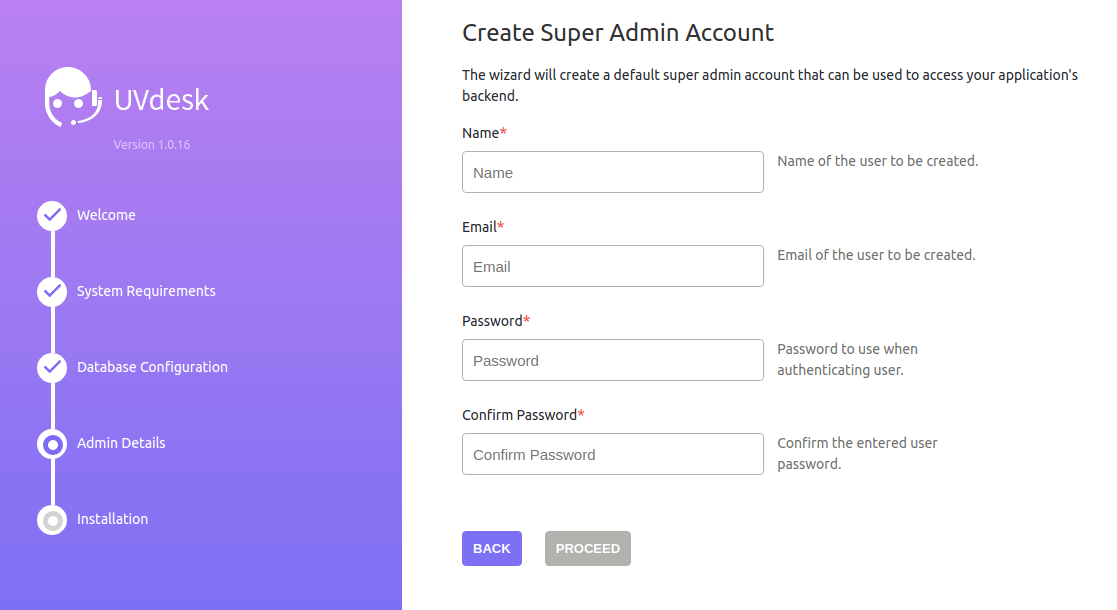
Step 6 – Create Super Admin Account

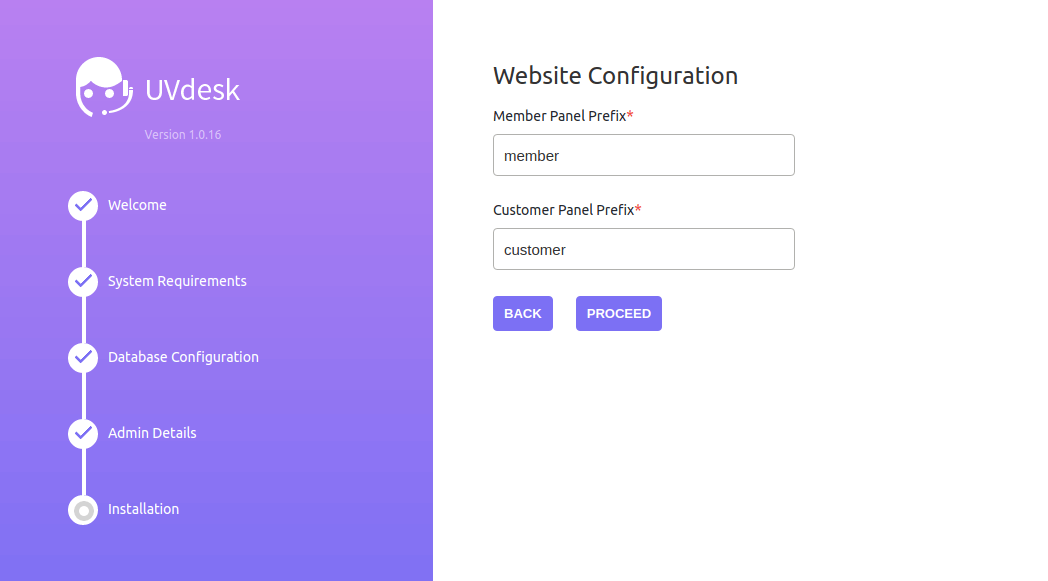
Step 7 – Website Configuration

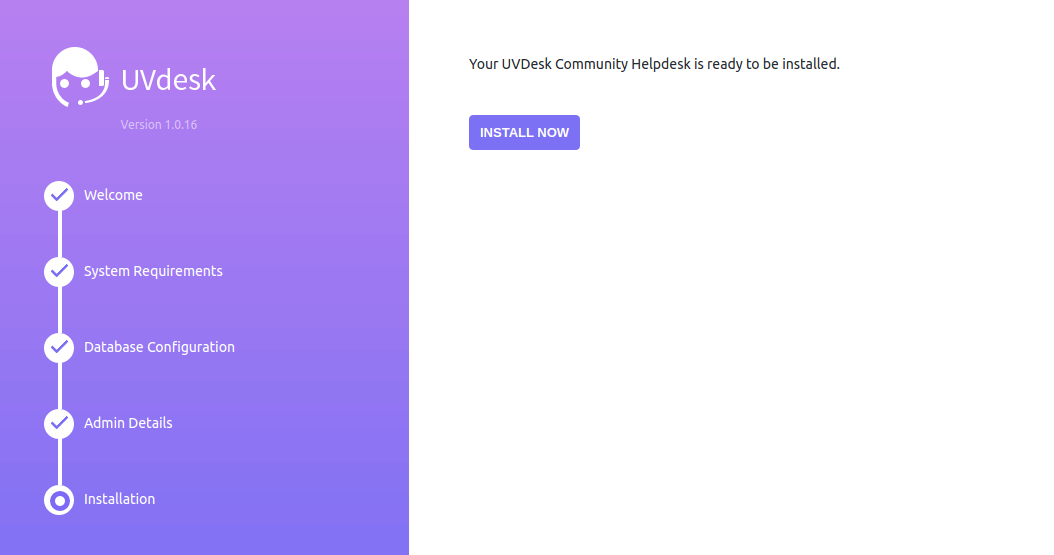
Step 8 – Install Now


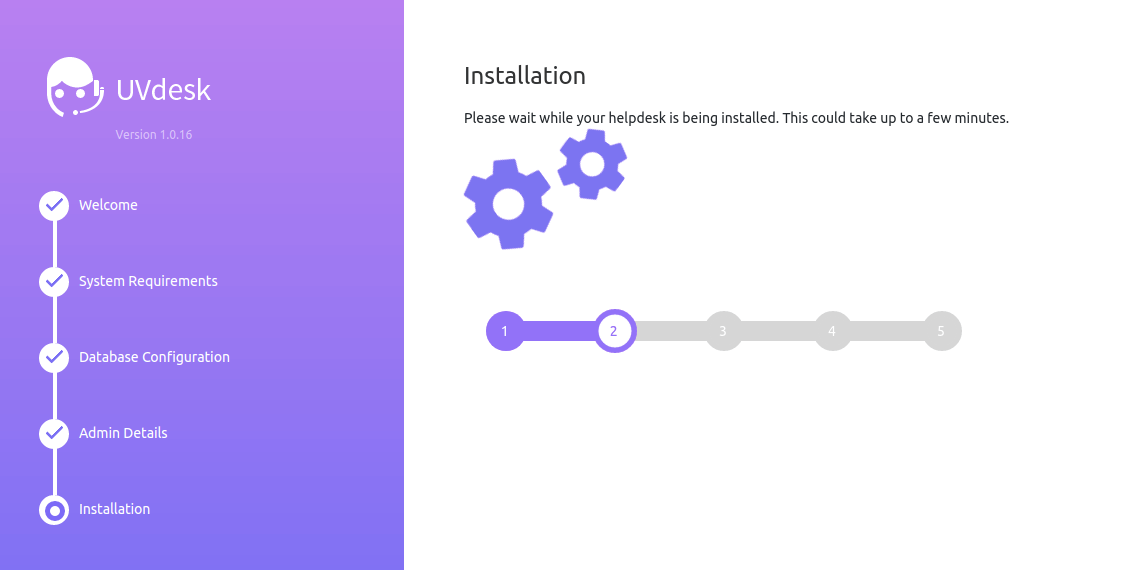
Step 9 – Database Migration

Step 10 – The Helpdesk Has Been Installed Successfully.
What’s Next?
Congratulations!! Now you have installed UVdesk open source helpdesk on your Mac server successfully. The next step after installation, set up a mailbox with UVdesk to send & receive emails from UVdesk.
Check out the link below to set up Mailbox-
How to Setup Mailbox: UVdesk Open Source Helpdesk
Complete Installation Doc – UVdesk Open Source
Open Source Helpdesk Installation on CentOS – UVdesk
Open Source Helpdesk Installation on Windows using Xampp – UVdesk
Open Source Helpdesk Installation on WAMP – UVdesk
Open Source Helpdesk Installation on MAMP – UVdesk
Are you in trouble? Let’s connect directly to UVdesk developers –