UVdesk Open Source is free fully-functional helpdesk software, designed on a very famous framework which recognize among all developers such as Symfony, a PHP framework.
In this post, you will find a comprehensive guide for the Open Source Helpdesk Installation process on CentOS – UVdesk.
Open Source Helpdesk Installation Process On CentOS
Prerequisites to install Open Source Helpdesk on CentOS:
Hardware Requirement
- Processor: 1.60GHz or higher
- RAM: 3GB or higher
Software Requirement
- PHP 7.3 or higher, also support PHP 8
- Composer: Composer 2
- IMAP
- MailParse
- Server: Apache
- Database: MySQL/MariaDB
Steps To Install Open Source Helpdesk Ticketing System On CentOS:
Step 1:
Install the community-skeleton project via composer using the below-structured command:
Clear Cache:
|
1 |
composer clear-cache |
Create Project:
|
1 |
composer create-project uvdesk/community-skeleton helpdesk-project |
OR
Download ZIP as per your System’s PHP version.
Check Following Cases:
Before setting up your project check the below things and make changes accordingly:
Case 1. A web server might don’t have permission to allow overriding of the Apache config on a per-directory basis. In apache2.conf, Allow Override needs to be set to All for the directory block as mentioned below:
<Directory /home/users/www>
Options Indexes FollowSymLinks
AllowOverride All
Require all granted
Case 2. If your database password contains some special character(such as #$%@) then change your password and make it without a special character.
Case 3. locate the .env file in your project and make sure APP_ENV=dev when you are doing your setup.
Case 4. Allow read-write permission for the below file & folder:
For .env file – chmod 777 -R path of .env file of UVdesk project
For var folder -chmod 777 -R path of var folder of UVdesk project
For config folder – chmod 777 -R path of config folder of UVdesk project
Case 5. And also check max execution time if it is 30 sec then increase it. Check here.
Step 2:
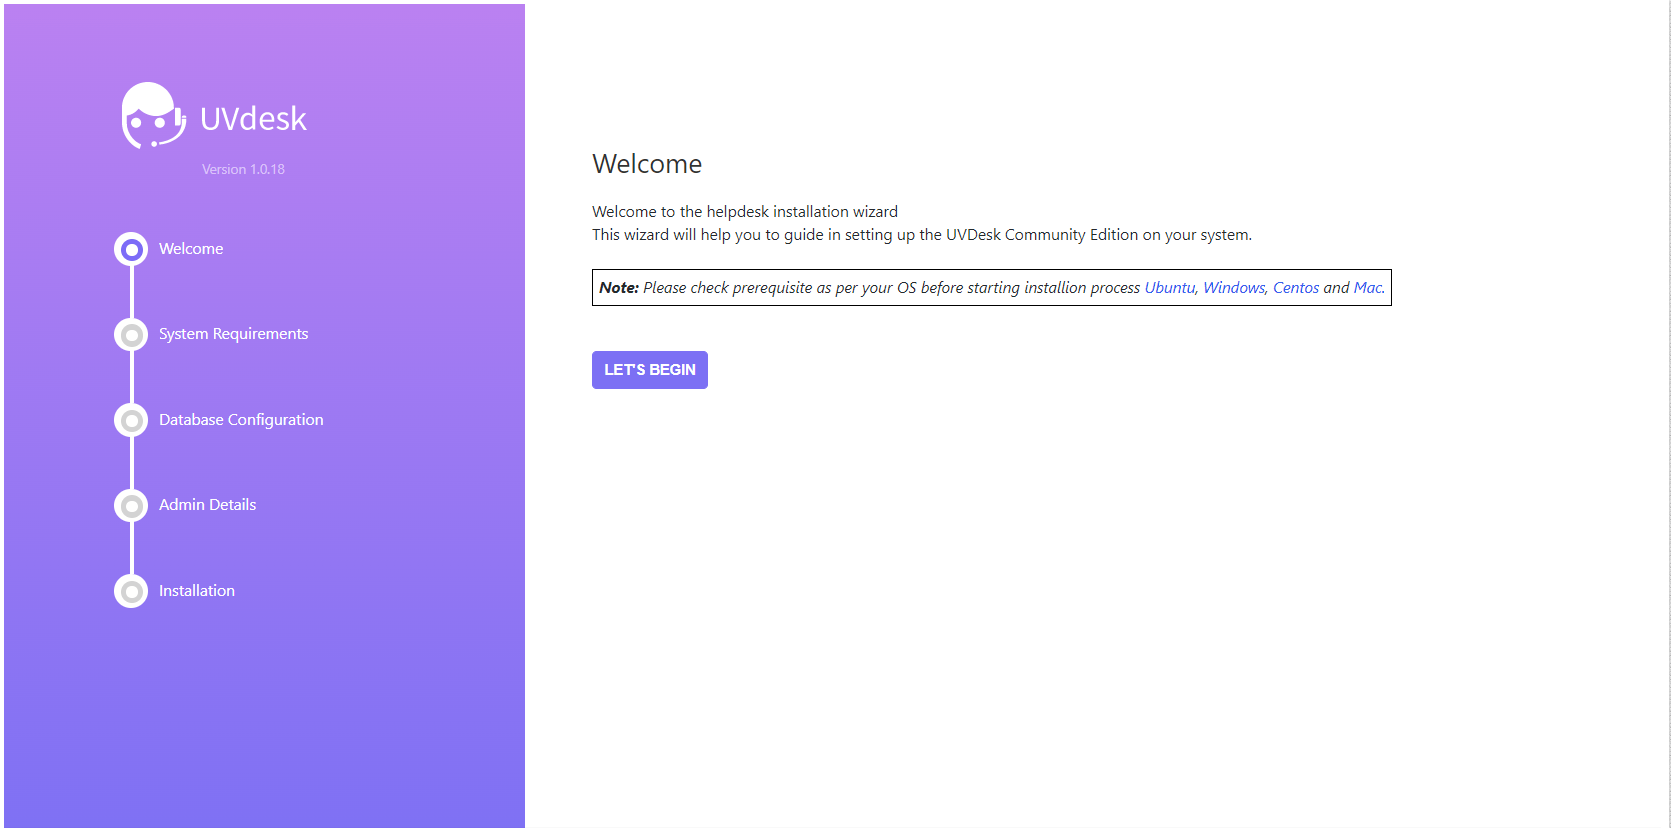
Browse your installed helpdesk project for example – http://domain/installed_folder/
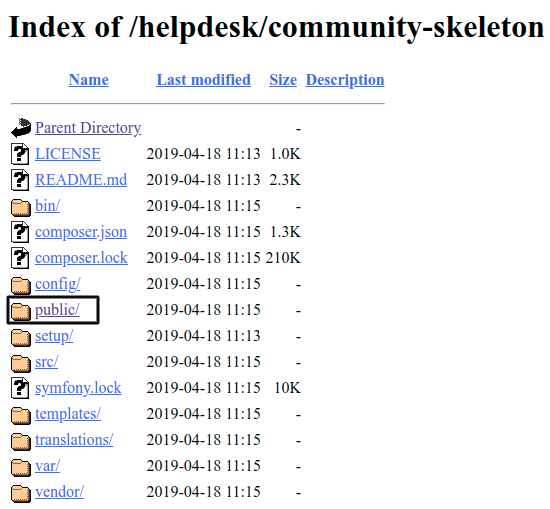

Step 3:
Set Up Helpdesk
Now browse: http://domain/installed_folder/public/

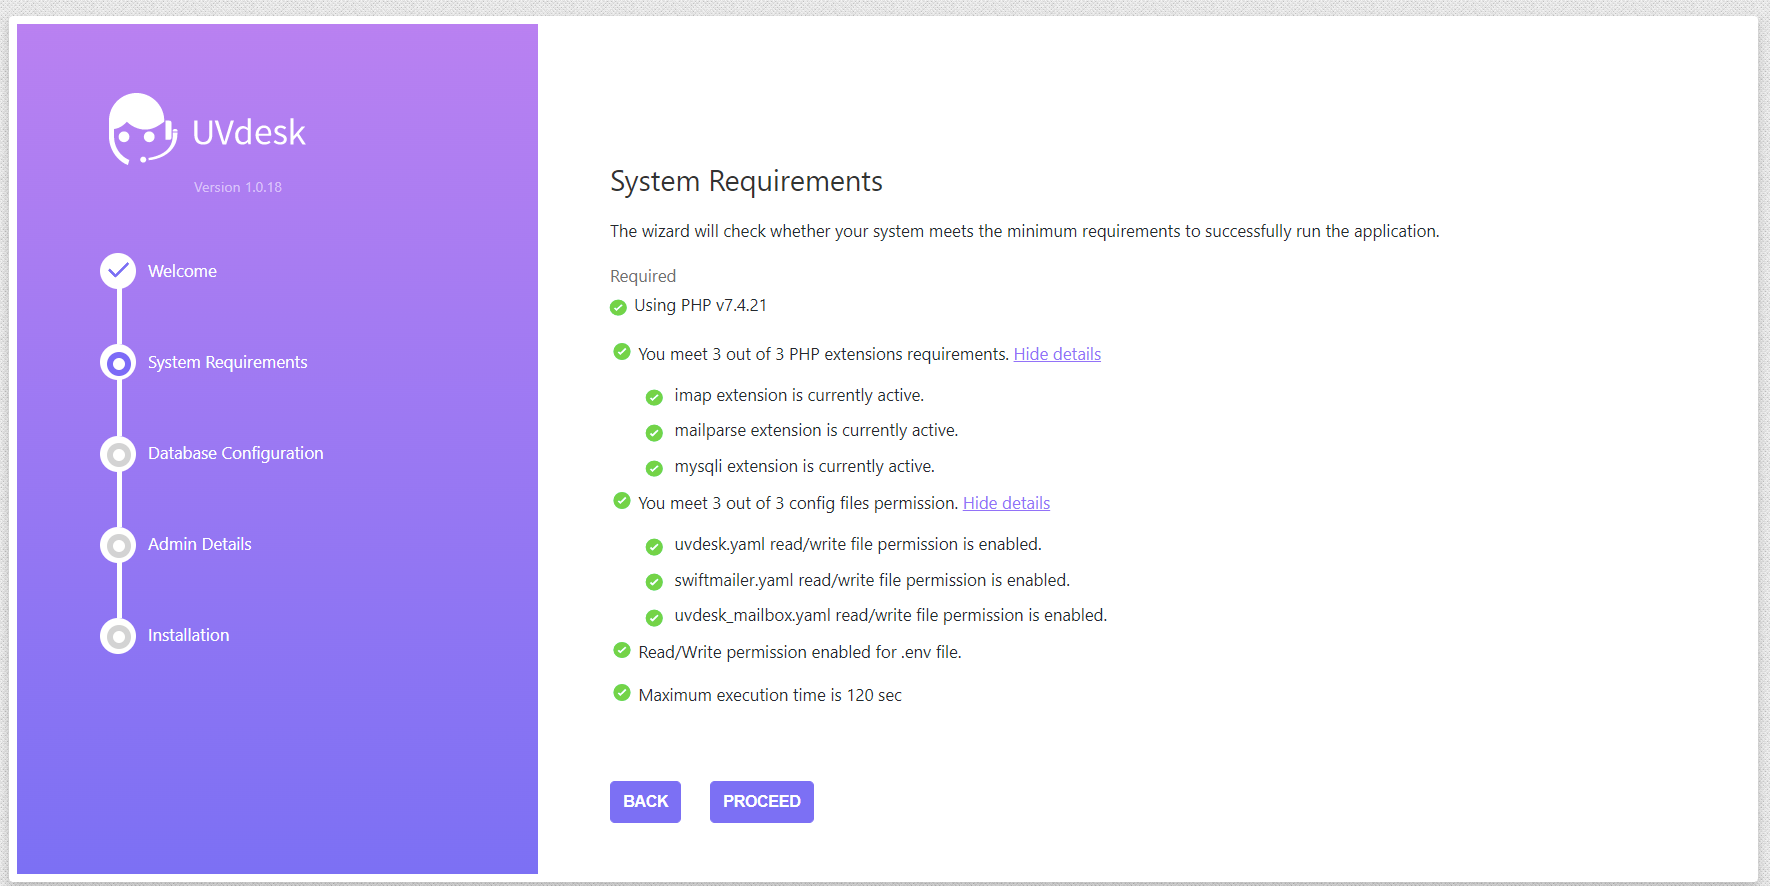
Step 4:
Evaluating System Requirement

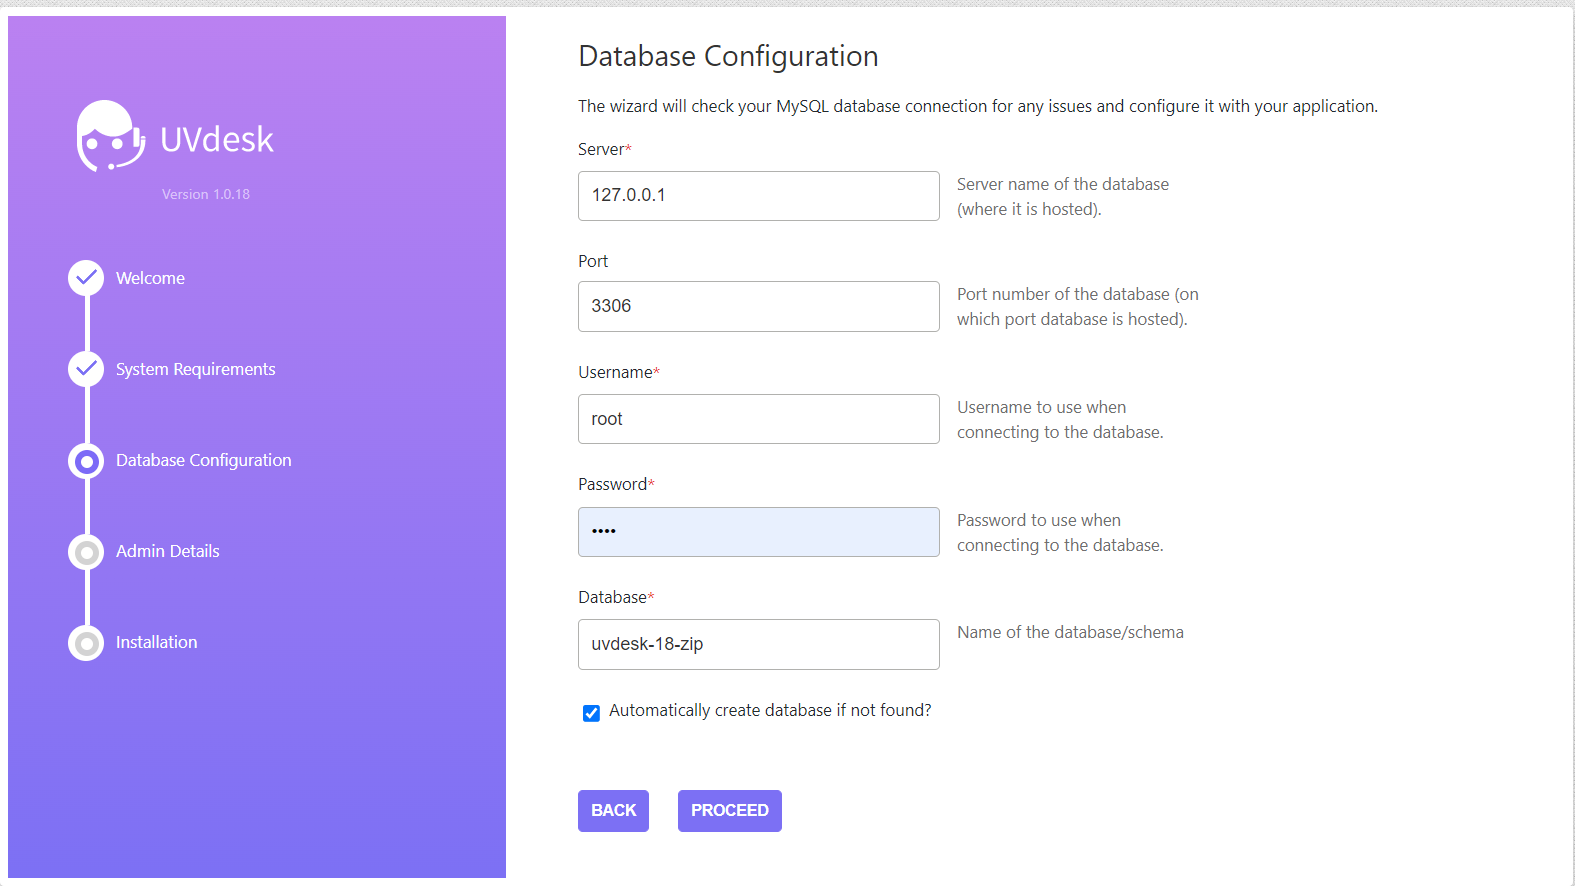
Step 5:
Database Configuration

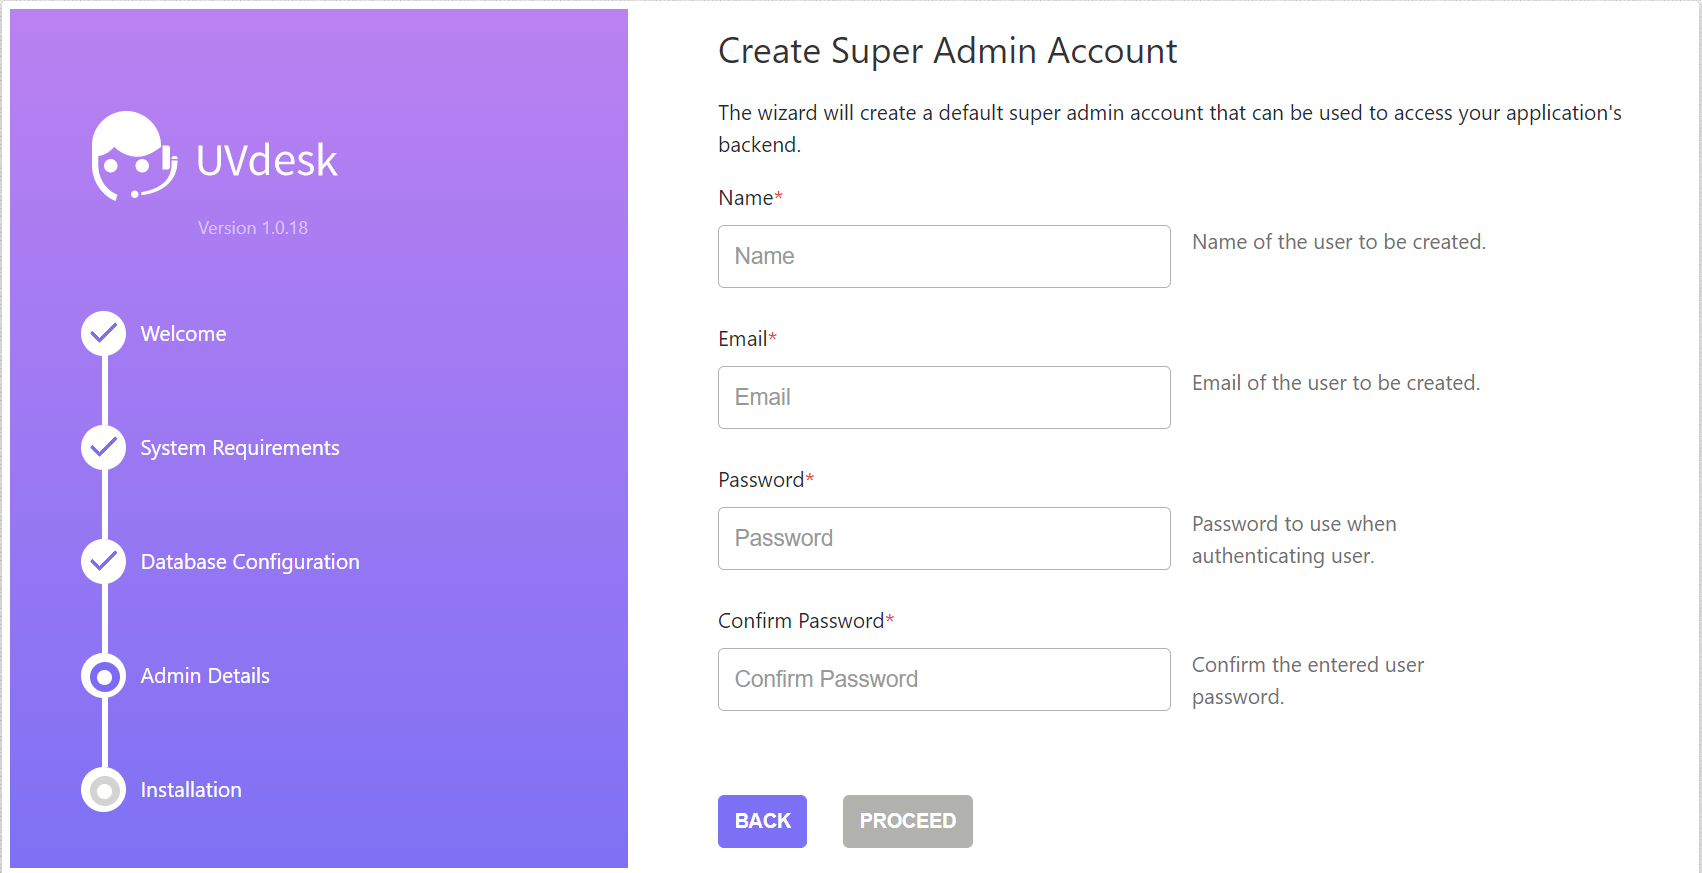
Step 6:
Create Super Admin Account

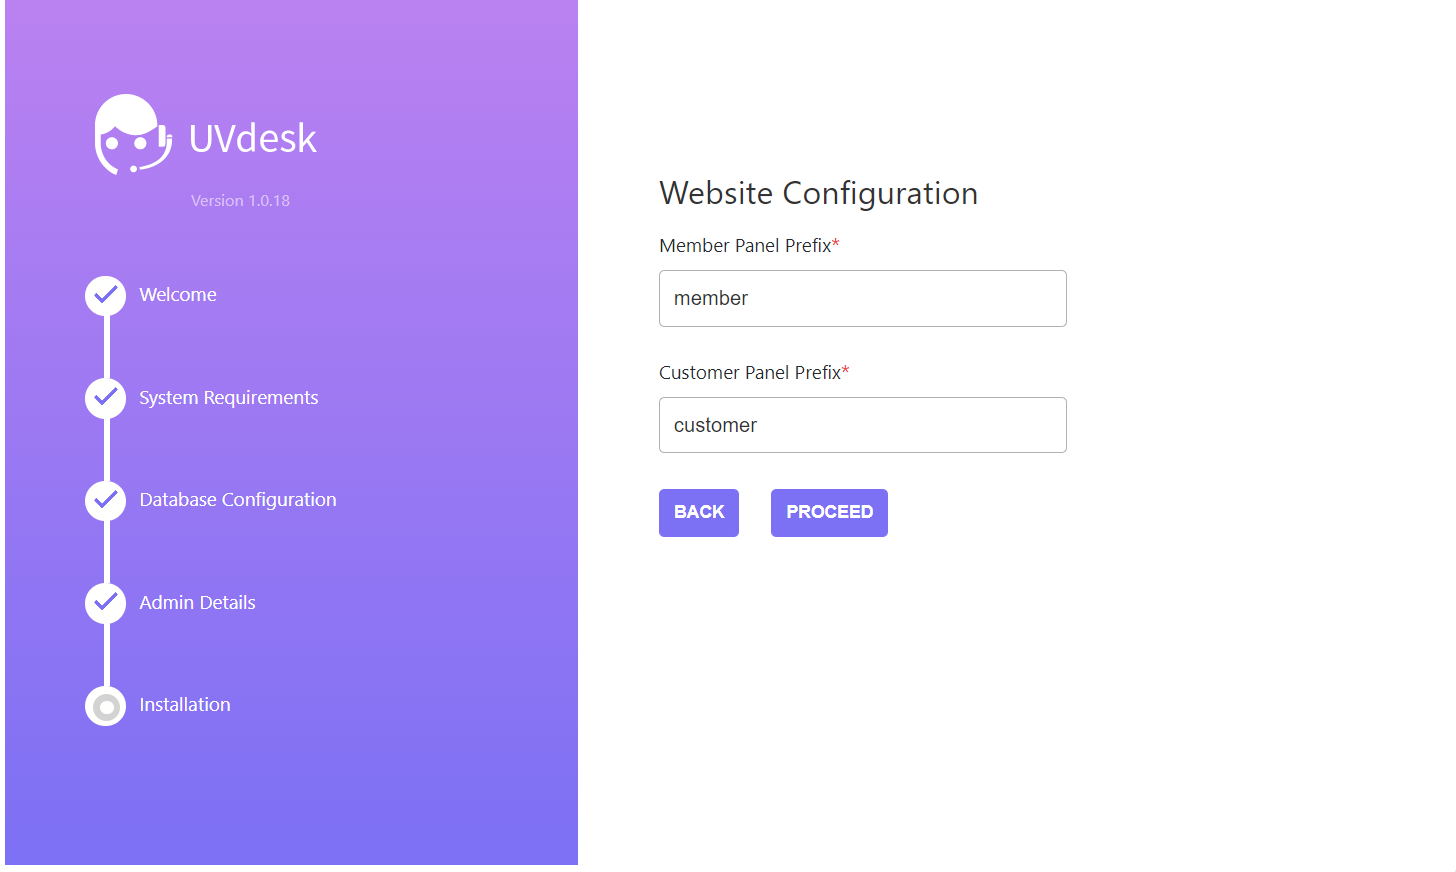
Step 7:
Website Configuration

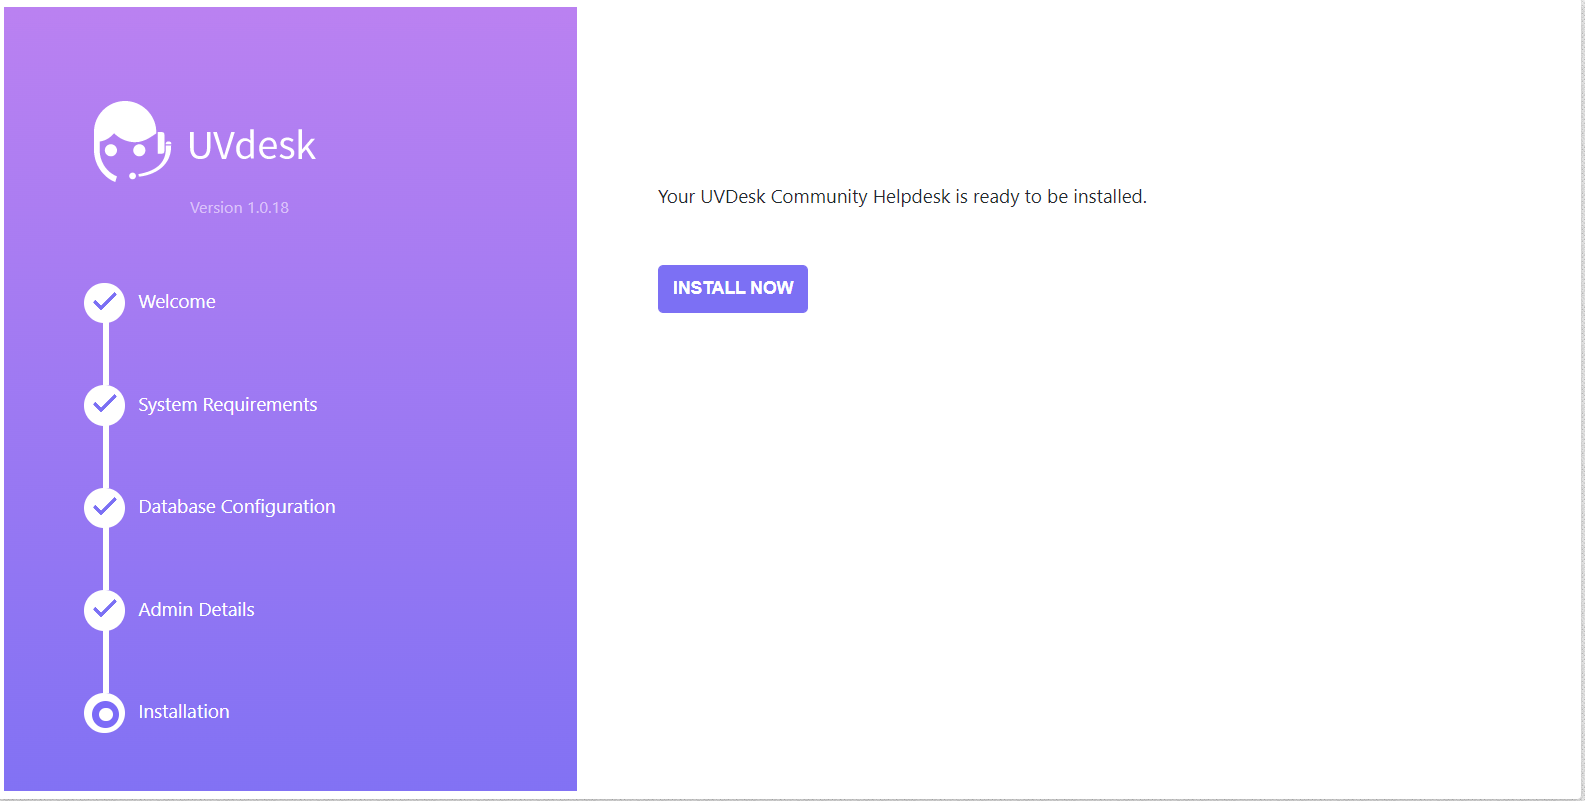
Step 8:
Install Now

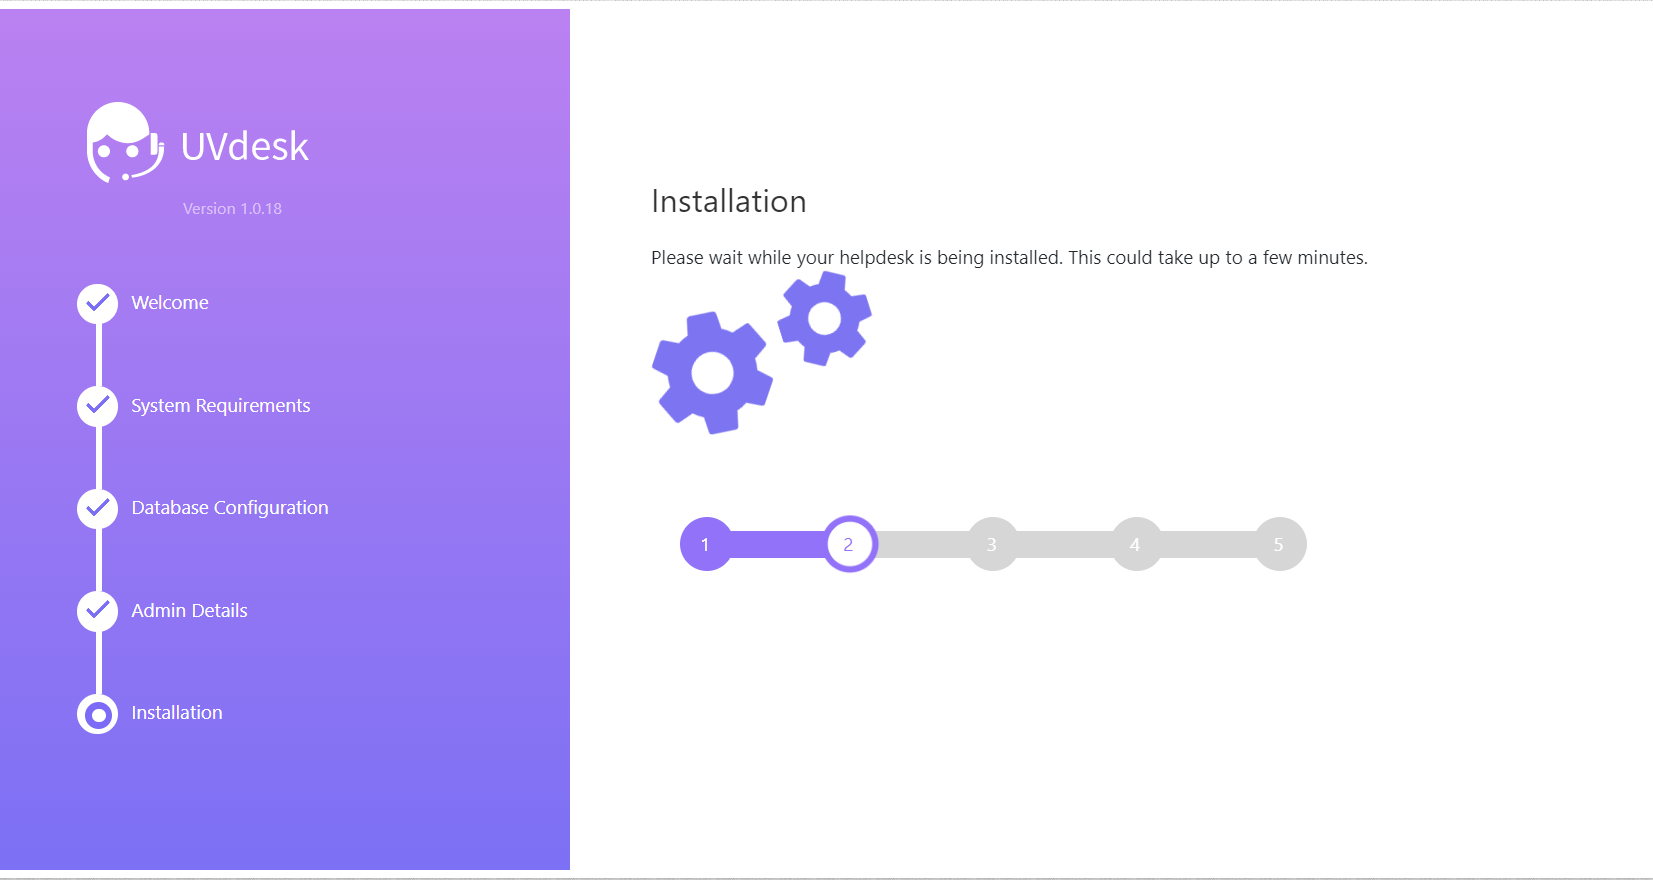
Step 9:
Database Migration

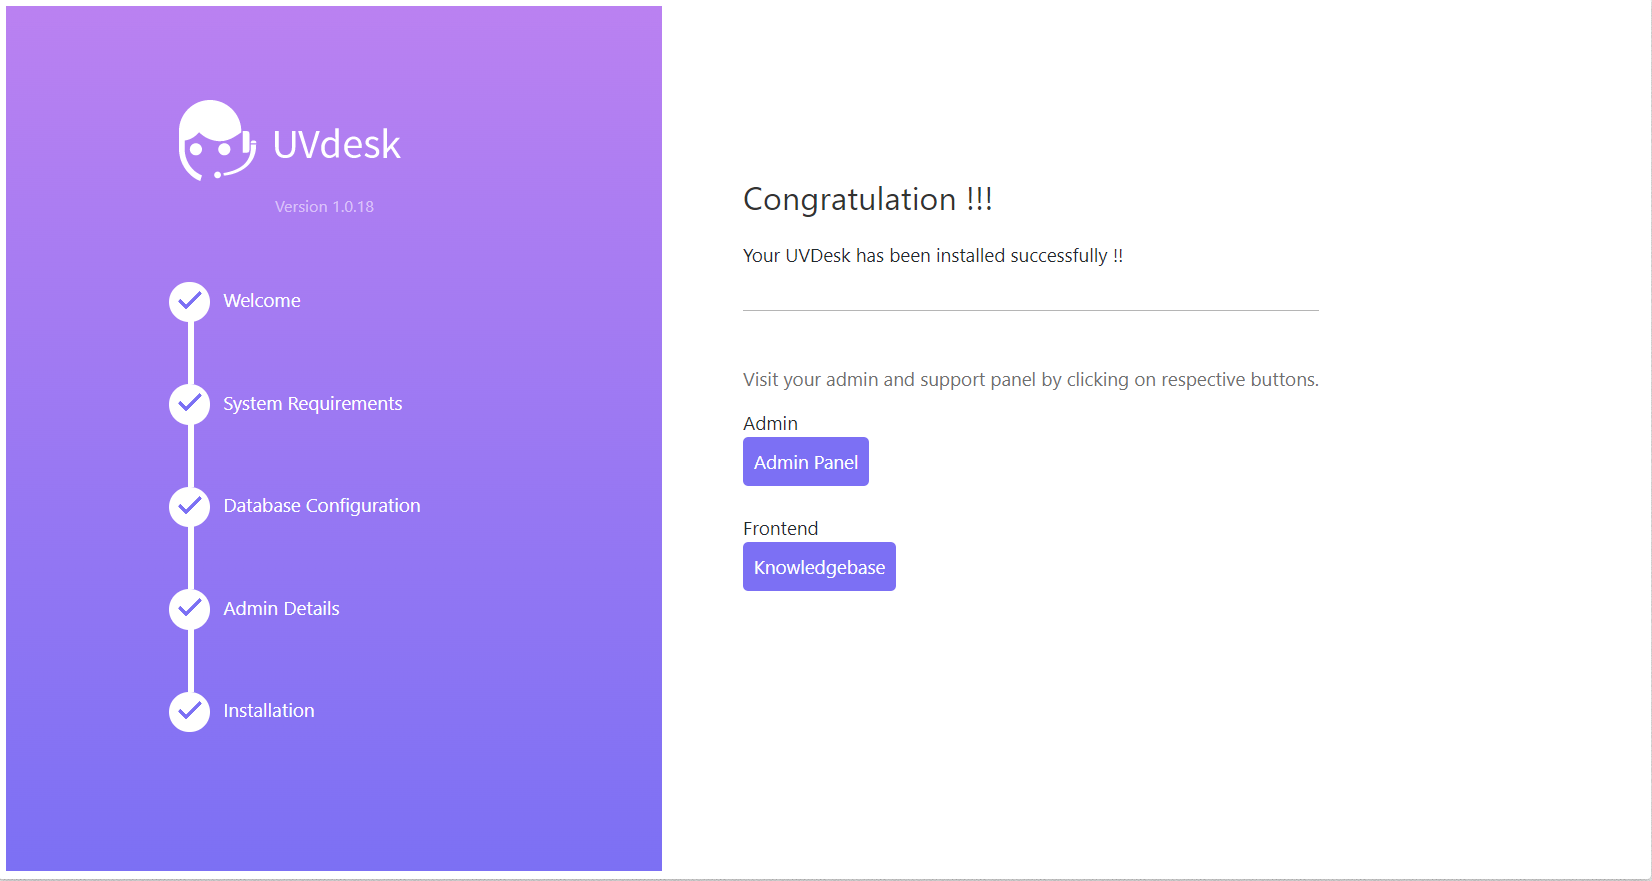
Step 10:
The UVdesk Helpdesk Has Been Installed Fully

What’s Next?
Congratulations!! Now you have installed UVdesk open source helpdesk on your Mac server successfully. The next step after installation, set up a mailbox with UVdesk to send & receive emails from UVdesk.
Check out the link below to set up Mailbox-
How to Setup Mailbox: UVdesk Open Source Helpdesk
Complete Installation Doc – UVdesk Open Source
Open Source Helpdesk Installation on Ubuntu – UVdesk
Open Source Helpdesk Installation on Windows using Xampp – UVdesk
Open Source Helpdesk Installation on WAMP – UVdesk
Open Source Helpdesk Installation on MAMP – UVdesk
Are you in trouble? Let’s connect directly to UVdesk developers –
UVdesk Forum! Developer Visit! Contact Us! Live Demo!