Office 365 Outlook Mailbox Configuration in UVdesk Open Source Helpdesk
In the blog, we will explain how you can configure UVdesk open source helpdesk with your Outlook Account and transform tickets on the UVdesk when any user sends emails at your Outlook email Id.
Create a New App Password
UVdesk doesn’t support security codes for two-step verification. In these cases, you need to create an app password to sign in. Let’s follow the below step to create a new app password:
Step 1: Log in with an Outlook account.
Step 2: Go to My account
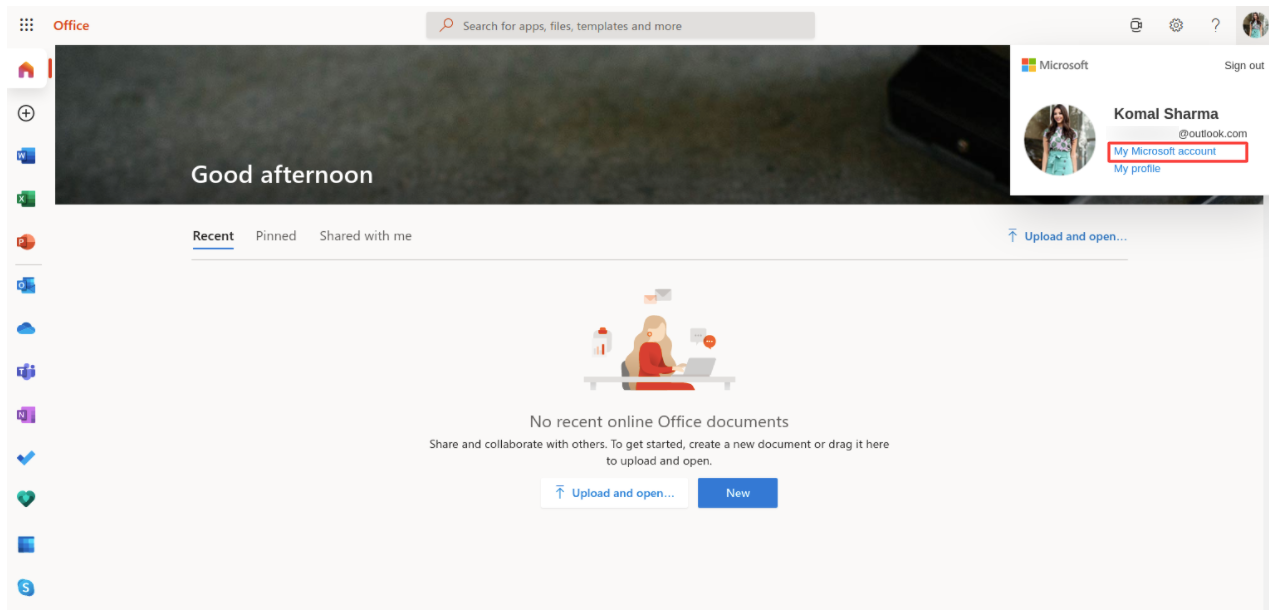

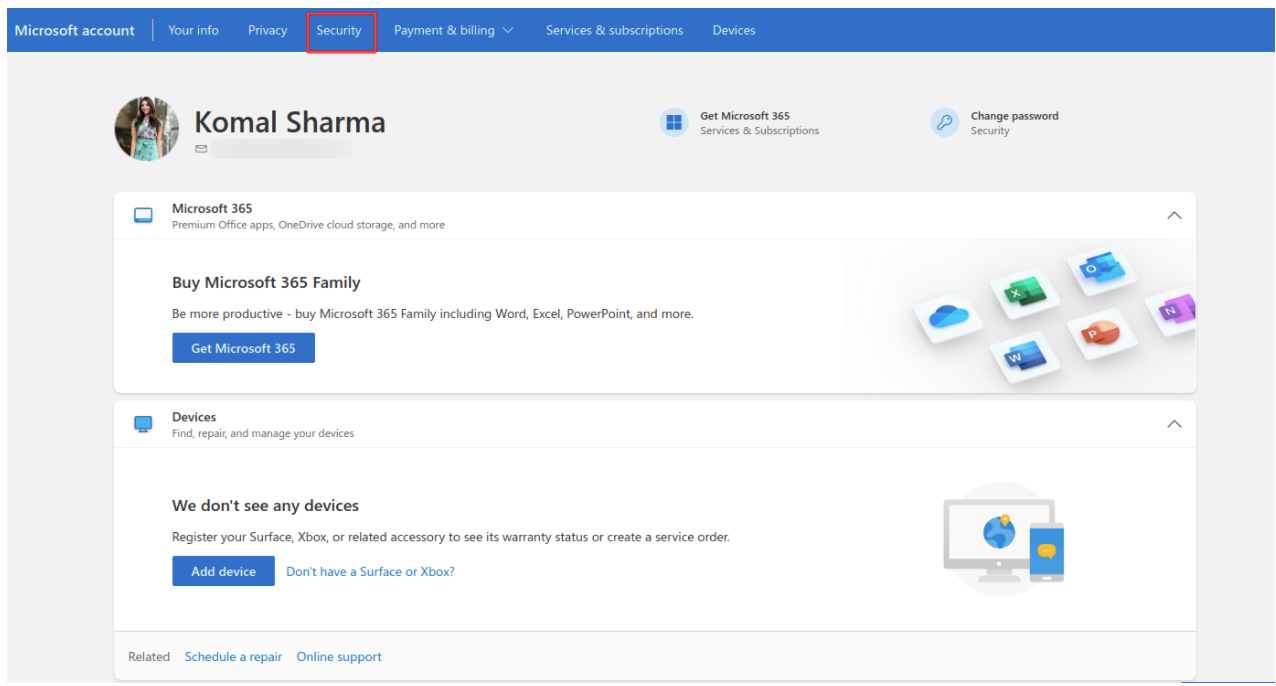
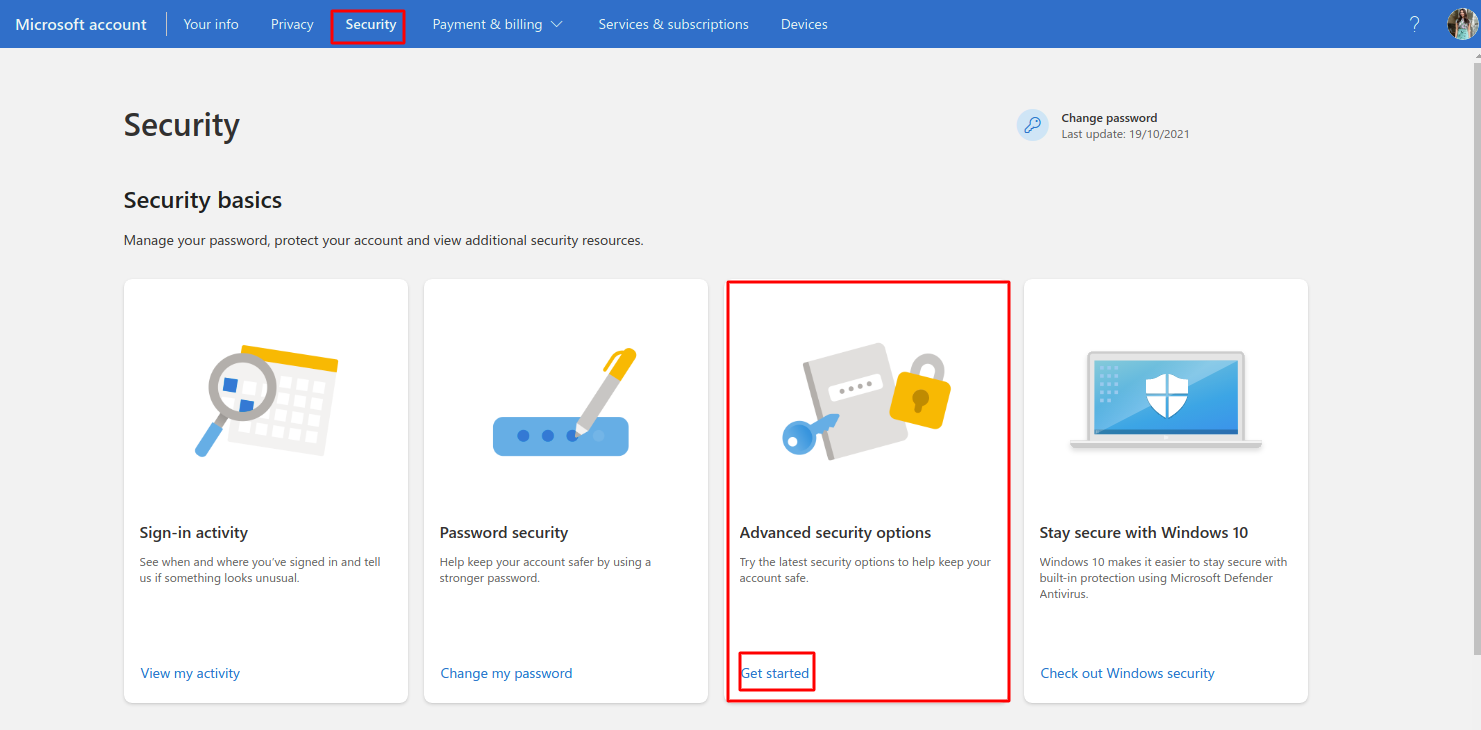
Step 3: After that, click on the Security tab from the top as shown below:

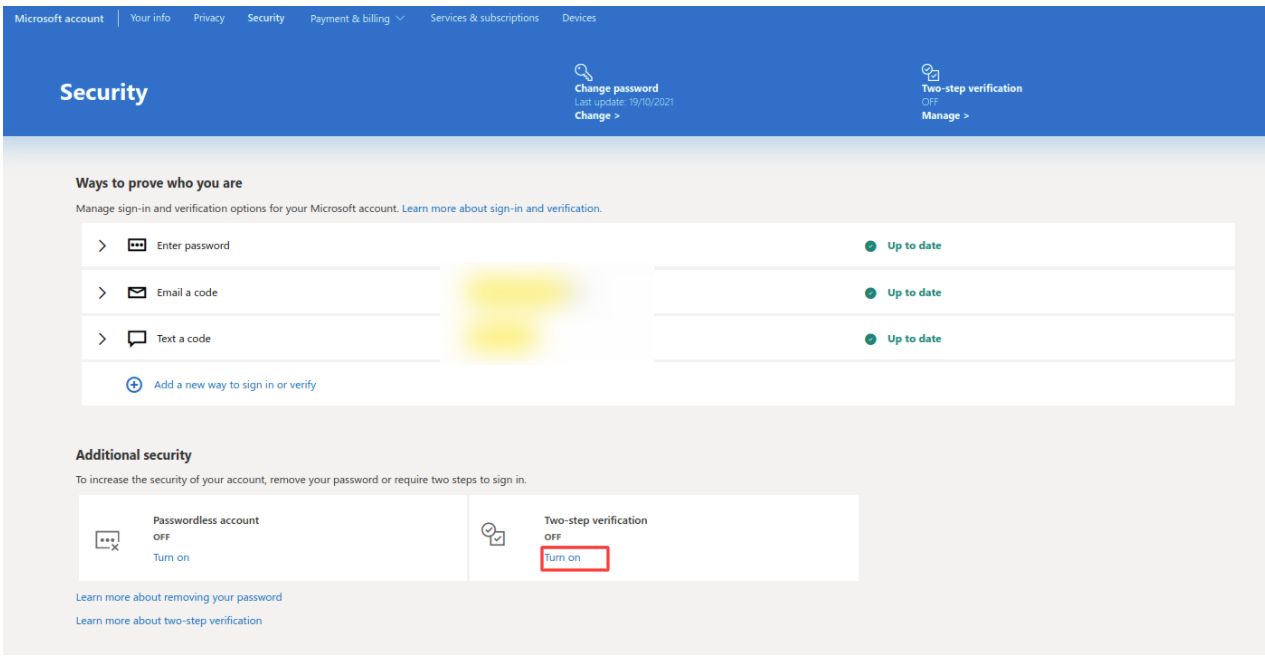
Step 4: Here, you have to turn on the Two-step verification option.

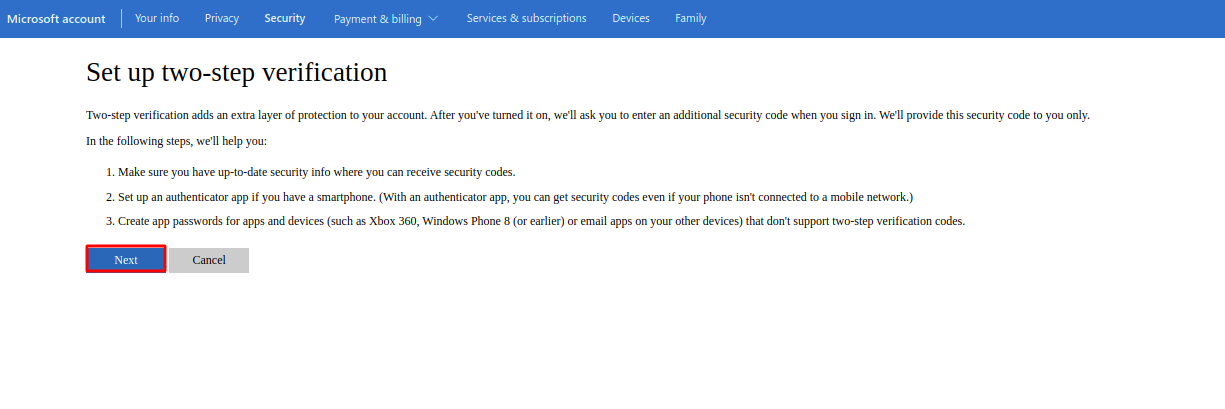
Now set up two-step verification as shown below :

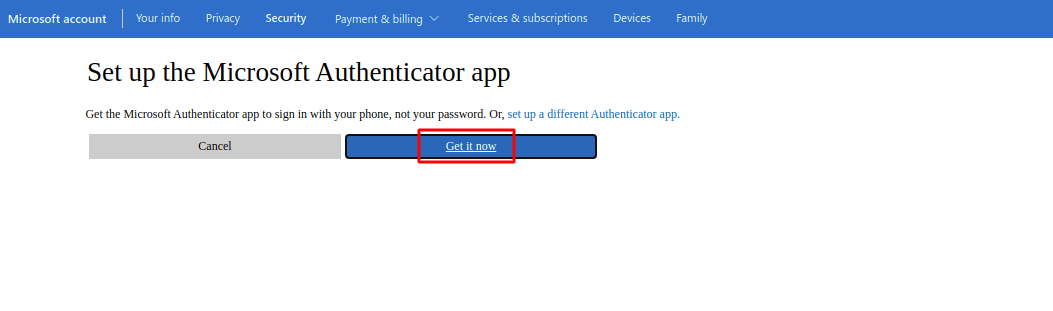
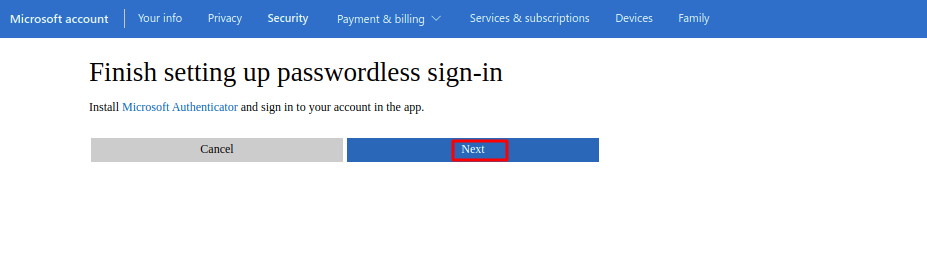
Now set up the Microsoft Authenticator app as shown in the given snapshot.

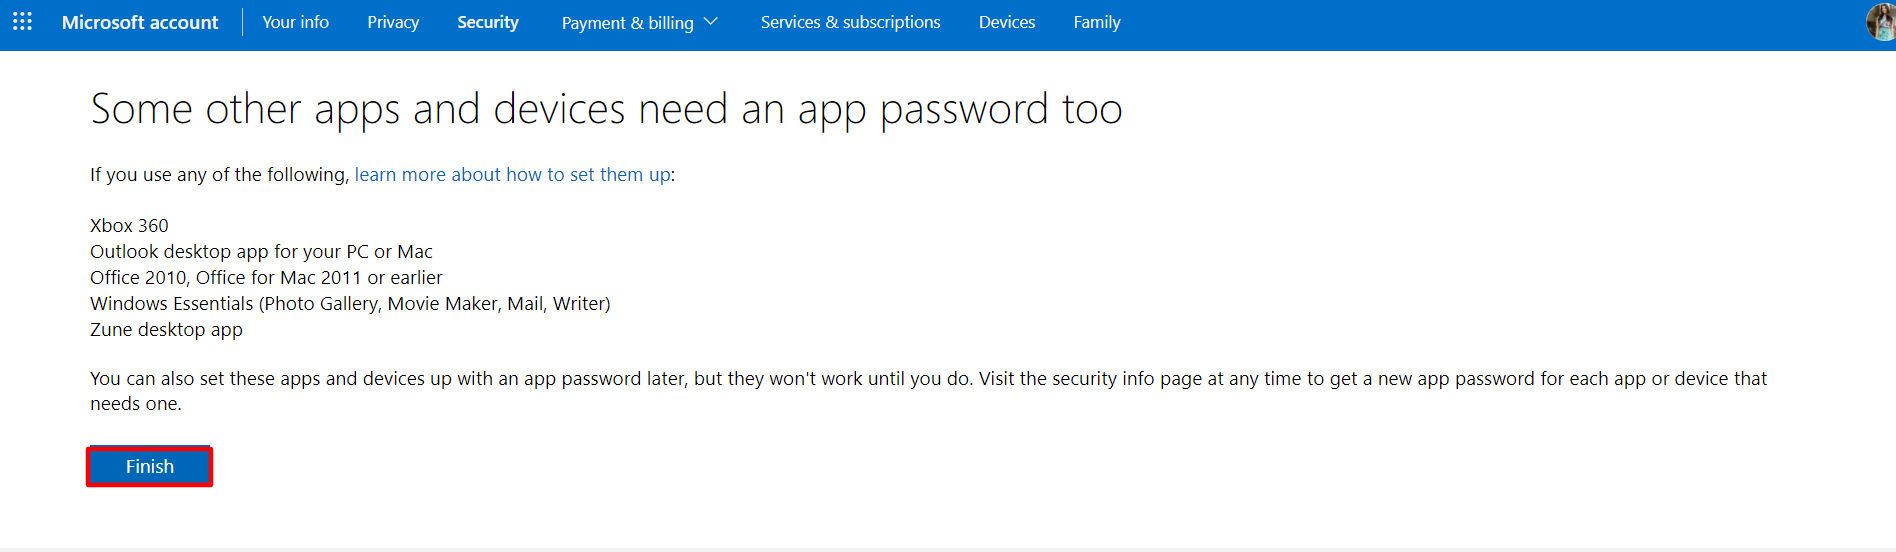
Now sign in to your account.

Use this password in SMTP/IMAP configuration for Outlook instead of your main account password by referring to the below steps.

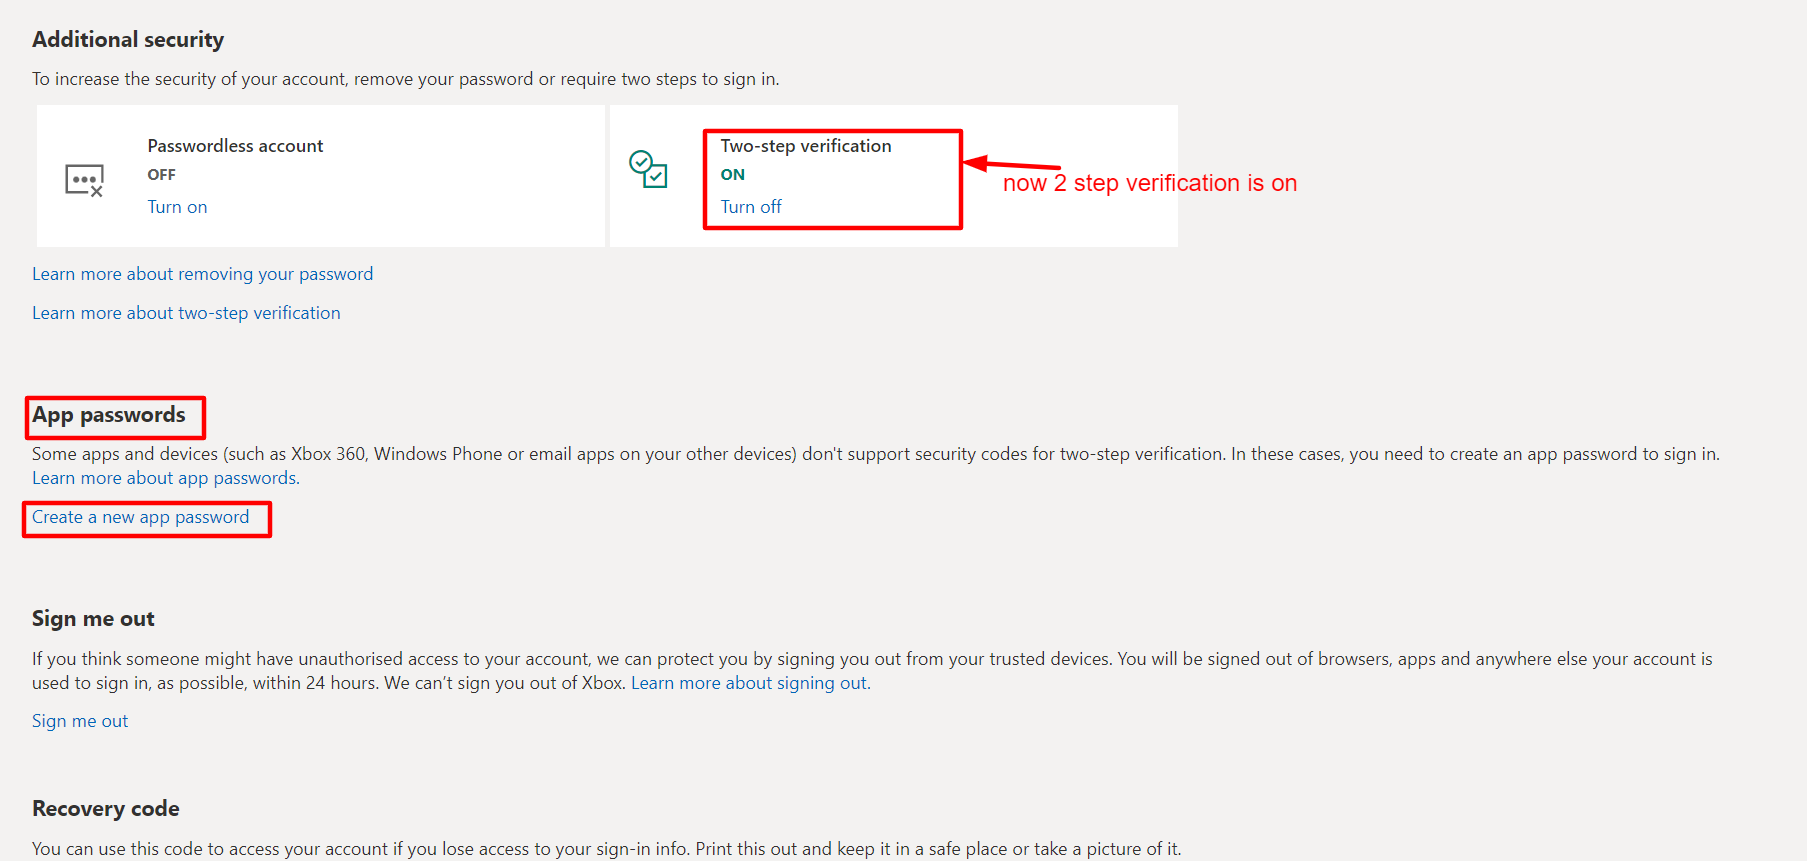
Step 5: Go to security -> advance option as shown in given below image :

Step 6: Now u will see ur 2 step verification is on and here create an app pass click on it.

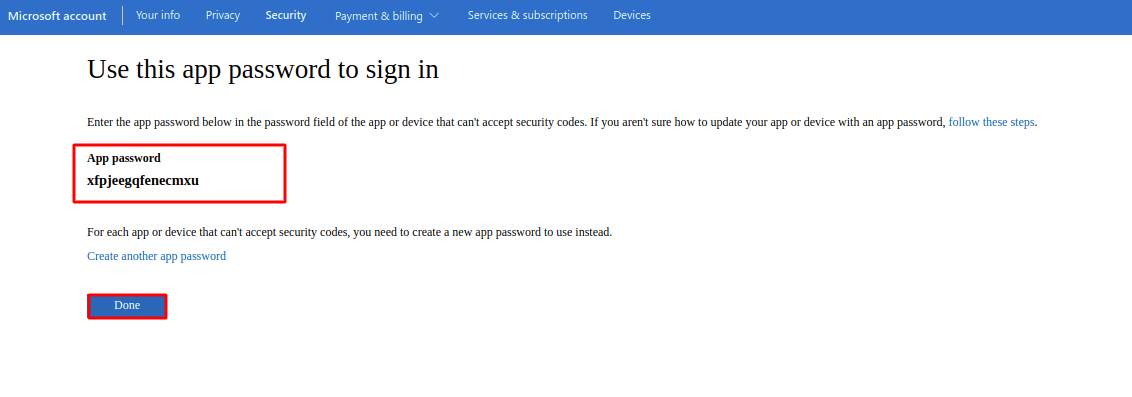
Step 7: Now this is your app password you can use the same in the mailbox.

Steps to configure Outlook account with UVdesk Open Source Helpdesk:
Step 1 : Swift Mailer Configuration
- Login into your UVdesk account.
- Navigate through Dashboard –> Settings –> Swift Mailer
- Click on create configuration button from the top right corner.
- Now fill the below-required details and proceed with by clicking “Save Changes” button.
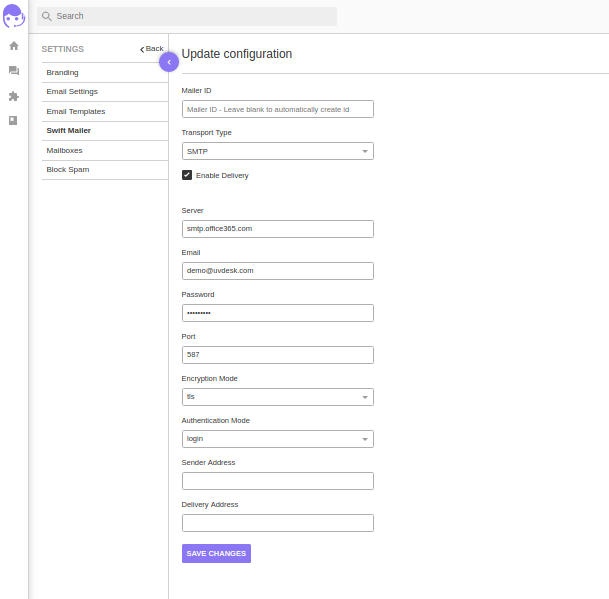

- Swift mailer id – Write any random name of mailer id for further reference or leave it blank for creating automatically
- Transport Type: Select SMTP.
- Enable Delivery: Enable delivery status active by clicking on the check box.
- Server: Write “smtp.office365.com”
- Email: Mention valid email id of Outlook
- Password: Enter the created new app password.
- Port: Enter port number “587“
- Encryption Mode: Select encryption mode as “TLS” for Outlook from the dropdown.
- Authentication Mode: Select authentication mode as “Login” for Outlook from the dropdown.
- Sender Address: Enter Sender email address.
- Delivery Address: Enter the delivery email address.
Step 2 : Mailbox Configuration
- After Swift Mailer Configuration, move to mailbox configuration settings by navigating through Dashboard –> Settings –> Mailbox.
- Click on the New-Mailbox button from the top right corner.
- Tapping on the mailbox button brings up to the Mailbox Configuration setting page, Here admin needs to fill out the below required SMTP/IMAP details.
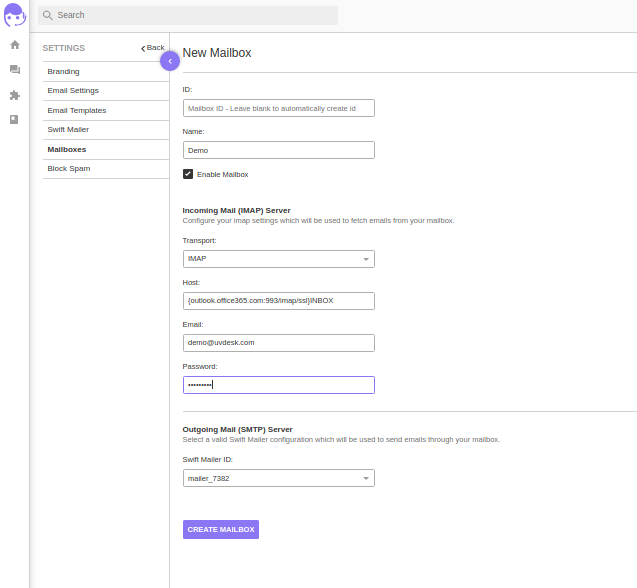
- Mailbox Id: Enter Mailbox Id else leave it blank to automatically create Id.
- Mailbox Name: Enter the Mailbox name for identification.
- Enable Mailbox: Click on the checkbox to enable Mailbox.
Incoming Mail (IMAP) Server
- Transport: Select IMAP from the dropdown.
- Host: Host name should be “{outlook.office365.com:993/imap/ssl}INBOX” for Outlook.
- Email: Put the email address of IMAP(incoming mail server)
- Password: Enter the created new app password of Outlook.
Outgoing Mail (SMTP) Server
- Swift Mailer ID: Select swift mailer id which you have created in Step 1.
Step 3 : Email Settings
Email settings is used to send the reply from the ticket panel to the customer email id hence this setting is mandatory. To do this, directly go to email settings by navigating through Dashboard –> Settings –> Email Settings.
Now fill the required details Email Id, Name, Swiftmailer id and Proceed.
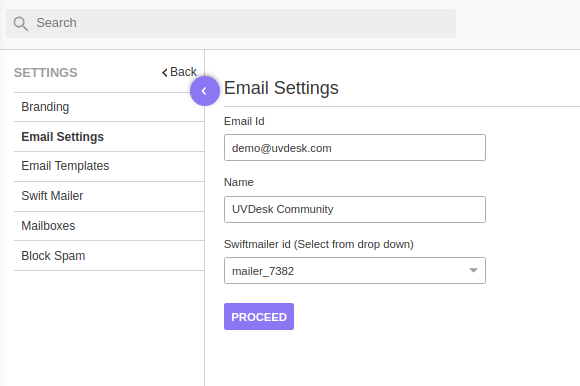
- Email Id: This email address sends a ticket reply to your customer email. Mention the same Email id which you’ve used in Swiftmailer configuration.
- Name: Enter any name for identification.
- Swiftmailer id (Select from drop down): Choose Switfmailer id which you’ve created.
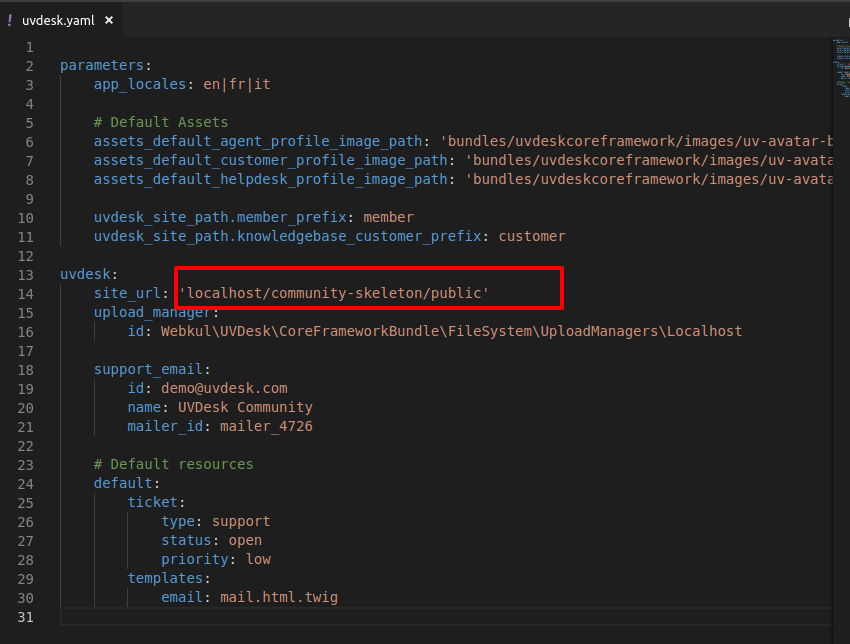
Step 4 : Setup Site_Url
Now, need to edit few changes in code, navigate through config->packages->uvdesk.yaml and find site_url, enter the localhost or domain path till public, make sure you have removed http://
For example: localhost/folder_name/public
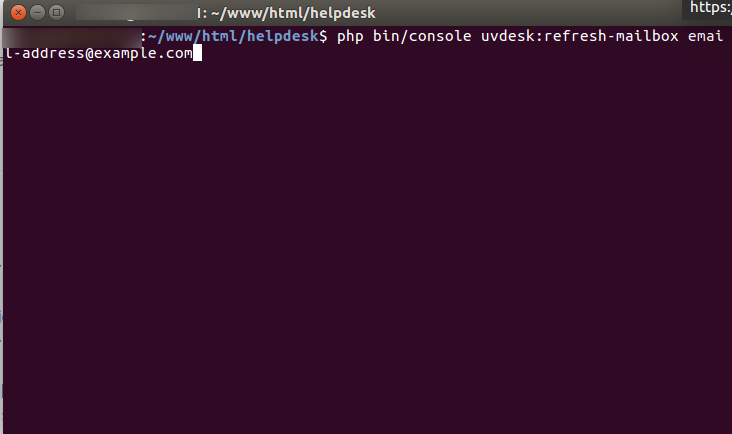
Step 5 : Run Cron Job
Run below refresh command through terminal into project root directory to fetch emails as a tickets.
|
1 2 |
<strong>php bin/console uvdesk:refresh-mailbox email-address@example.com </strong> |
Schedule a cron Job that needs to be executed repeatedly (e.g., hourly, daily, or weekly), you can use the crontabcommand. for more details refer to this guide.
Not using Outlook? would like to know the process of mailbox configuration with Gmail, refer to this comprehensive user guide –
Support
That’s all for Mailbox Configuration with Outlook in UVdesk Open Source Helpdesk. For any doubts or suggestions regarding the extension get back to us at support@uvdesk.com or raise a ticket at our Helpdesk system.