
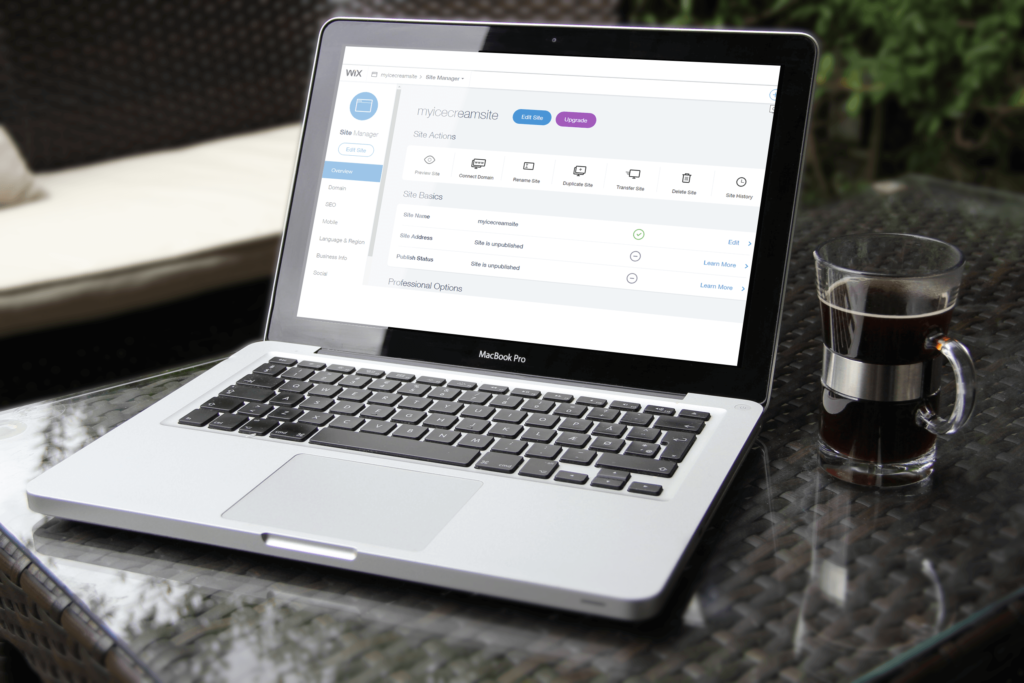
Wix is a cloud-based web development platform. It allows users to create HTML5 websites and mobile sites through the use of their online drag and drop tools.
As a user, you can create your own custom websites by selecting design, layout, themes, banners, images, and whatnot.
If you want a website on a go, then Wix is a perfect platform for you. Even if its editor is simple then you don’t need any technical knowledge for it.
In this blog, we will explain how you can create your custom Helpdesk form for your website built on the Wix Platform. First, you have to visit the Wix site and register yourself.
Then select the template, type of site you need, and other essential details for your website. When you are ready with your website then you can create your own Custom Form and paste the form.
Wherever you need on the site developed on Wix.
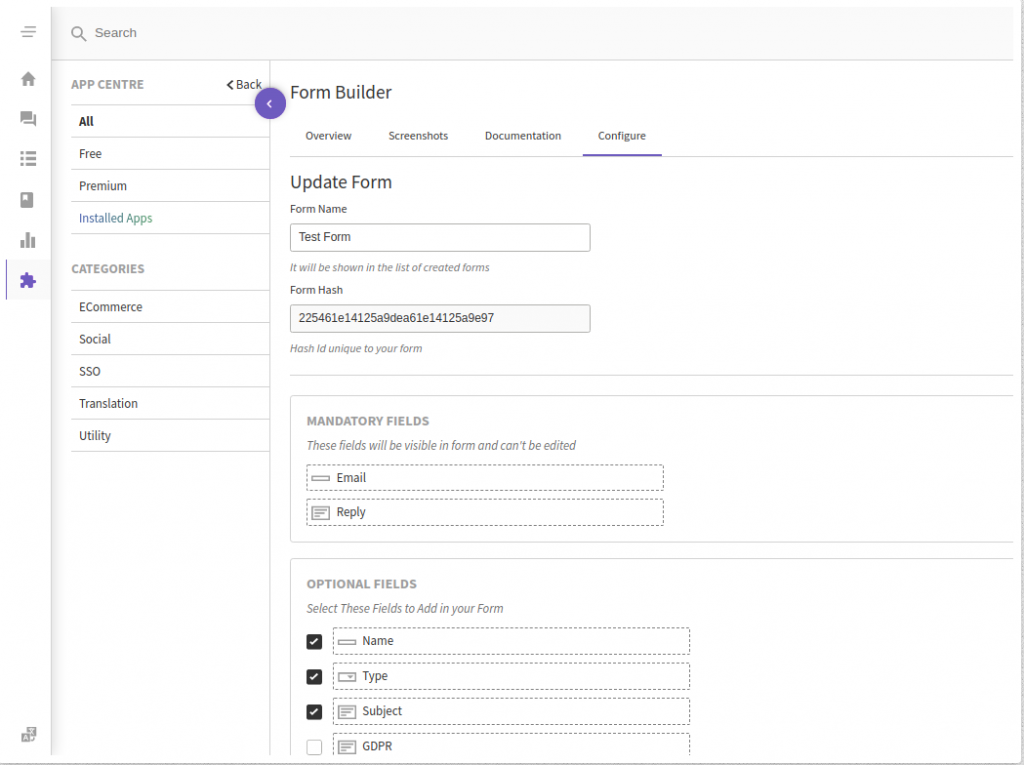
Before moving to the Wix part, make sure that you have created your custom form with the help of the Form Builder App by UVdesk. Go to your UVdesk Dashboard, and click on Apps > Form Builder.
Enter the Form name, select its fields and then save it.

After creating the Custom Form, you can either Preview the form or see its embed codes in JS Version & iFrame Version.

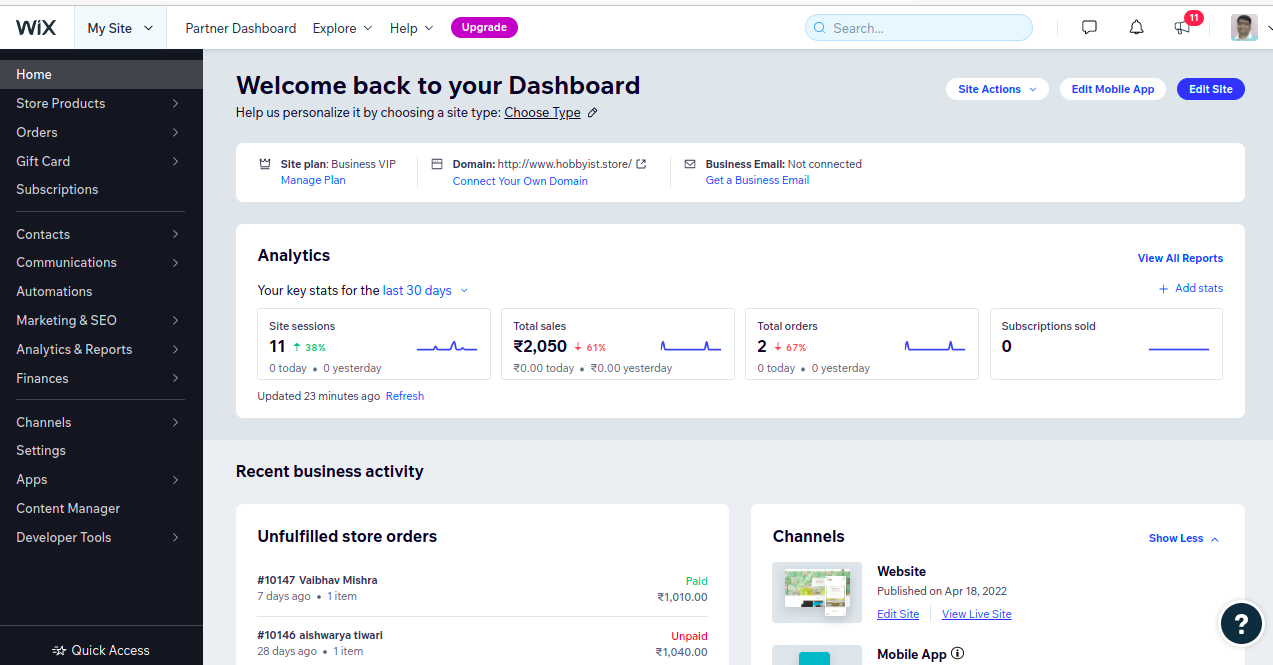
Now, login to your Wix Account and click on “My Site > Create New Site” to create a brand new site or if you already have a site created on Wix then edit that particular site so that we can paste the HTML codes of the custom form created by UVdesk Form Builder App.

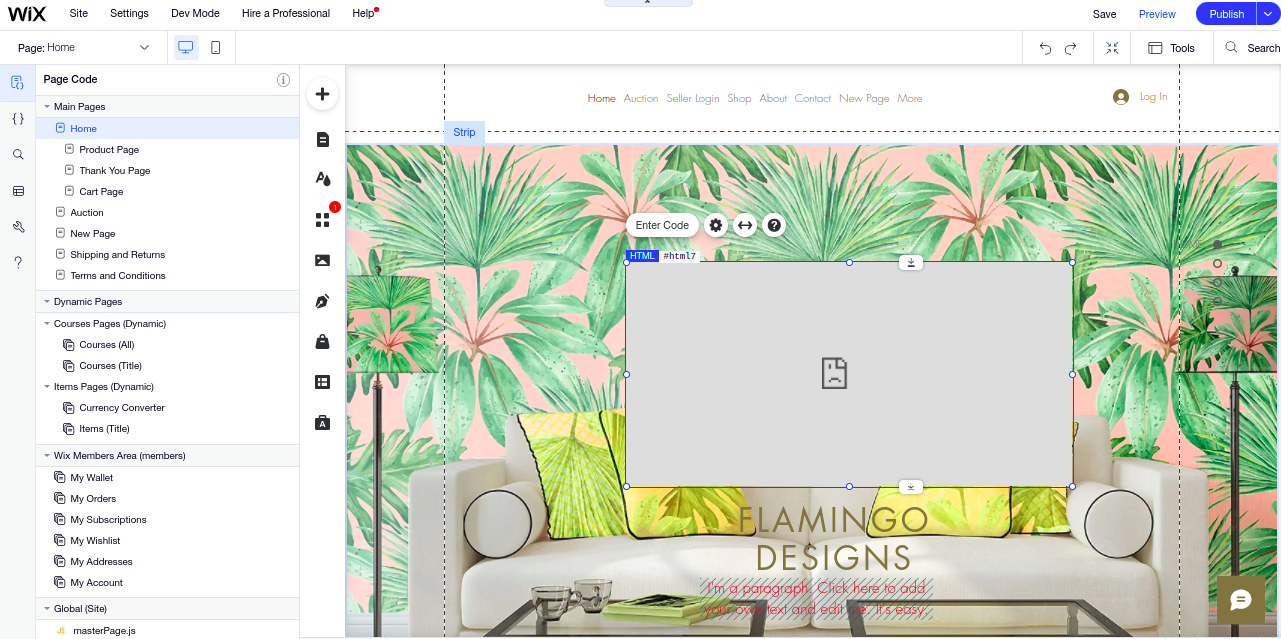
Now, after clicking on the “Edit Button”, you can go to the Add (+) button and then click on “Custom Embeds” and then on “Embed a widget” to add custom form codes from the UVdesk.


On the UVdesk, go to the Form Builder and click on the Customs Form name.
After that you will see three buttons – Save, Preview Form & Get Embed Code. Click on the “Get Embed Code” and copy either JS or iframe version codes. 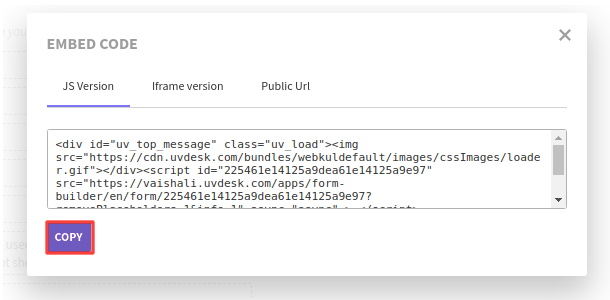

Now, go back to your Wix Account and select a section or part where you want to display your custom form.

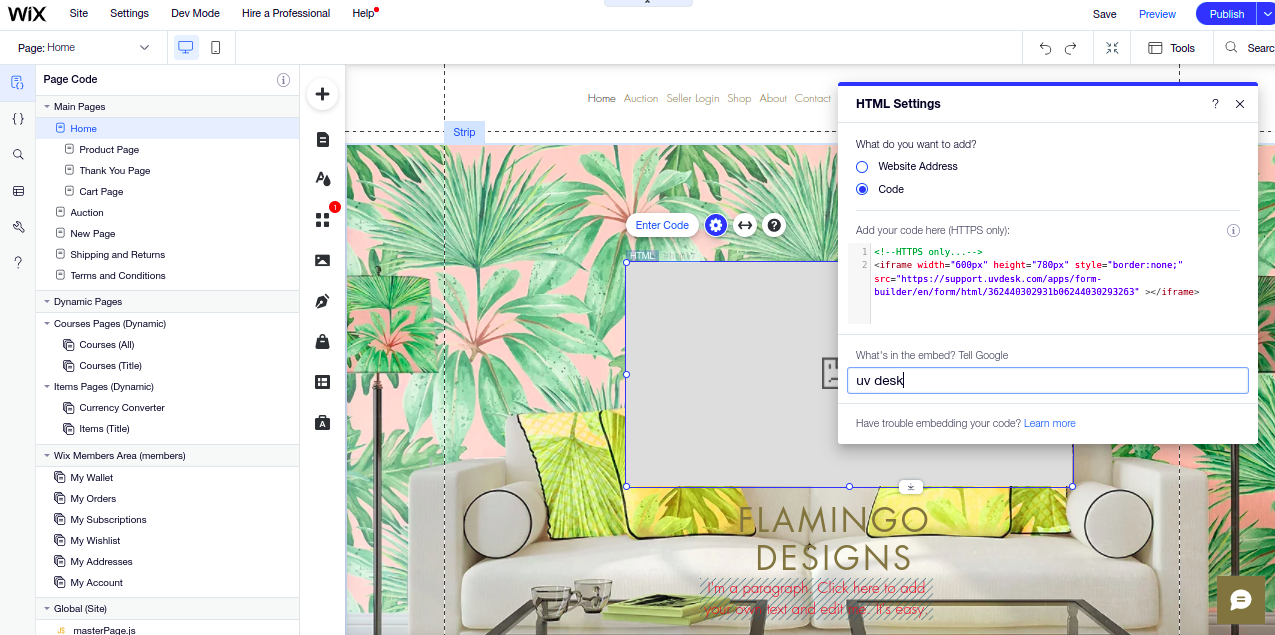
Open the HTML settings and paste the embed code there as per the below image.

Now, after updating the HTML codes, do the needful to make your site attractive and then save it. After saving all the changes, preview it once and then make it live.
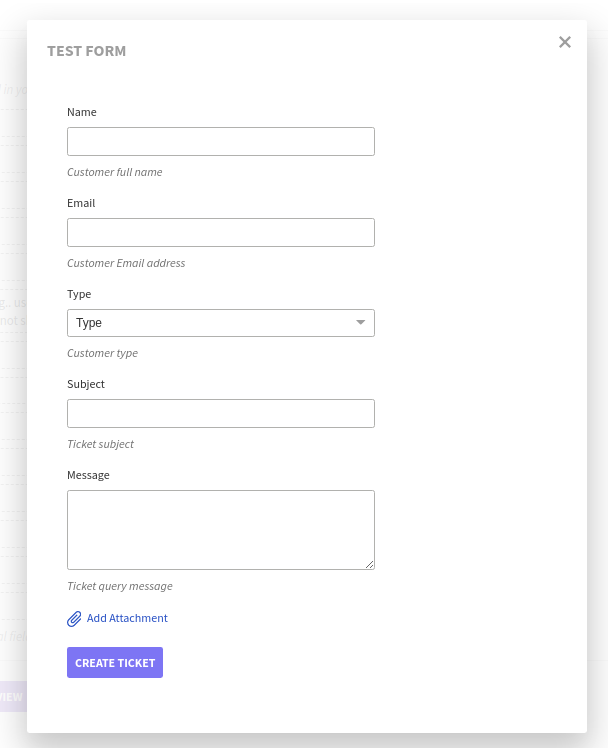
After making your site live, you can see your custom form for your desired position on your Wix website.


The customer can enter their details and query and then click on “Create Ticket”. After clicking the button, the customer can see their Ticket ID and a success message from the UVdesk.


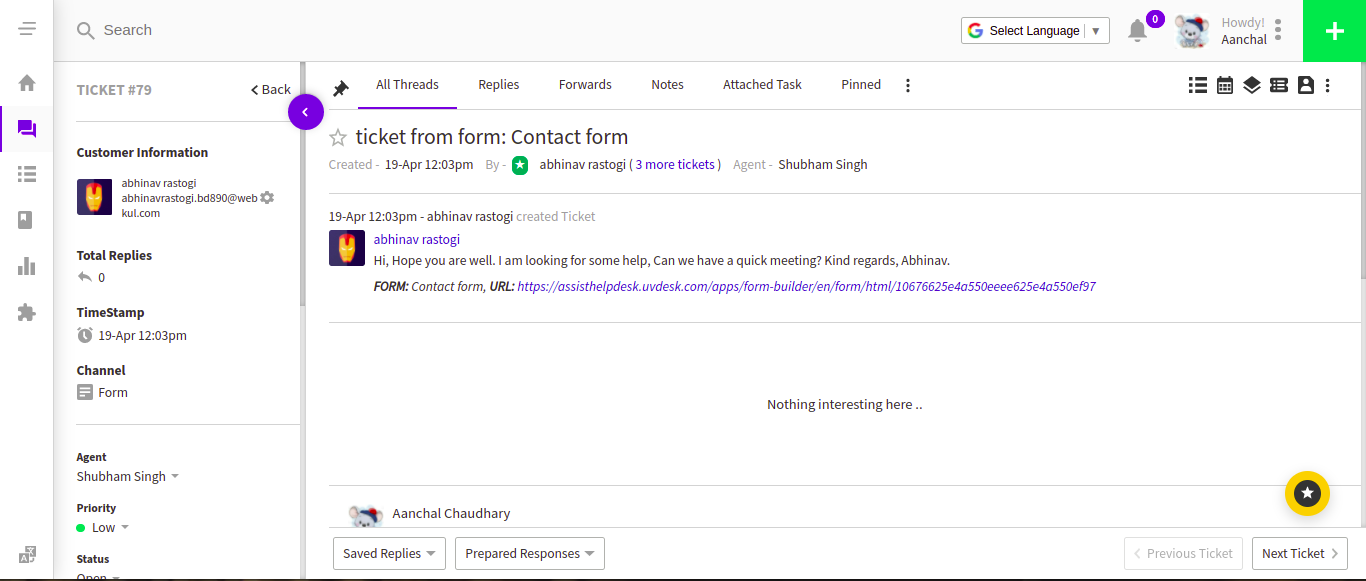
Now, the support agent can check Ticket #77 on the UVdesk with the details and queries filled by the customer. The support agent can revert back to the same query asked by the customer.

The customer can log in to the ticket system from the link sent to their entered mail ID along with a link to reset the password.
After resetting the password, the customer can check the revert of the support staff of their query by login into the UVdesk Helpdesk.
I hope this blog was helpful to you. In case of any doubt, please mail us at support@uvdesk.com
Video Tutorial-

Disclaimer- Wix is a registered trademark. Webkul is not a partner or an affiliation of Wix. This blog is only from the user’s perspective.